Painting your bathroom may make a big difference in how it looks, but painting the space behind the toilet can be particularly difficult. A common question among homeowners is if they can paint the toilet without removing the tank. In this blog, you’ll learn how to paint behind a toilet with skill, making sure the paint is applied evenly and thoroughly while maintaining the location of the tank.
How to Select the Best Paint for Your Bathroom?
Durability and moisture resistance are important considerations when selecting paint for a bathroom. High-quality satin or semi-gloss finishes are frequently advised since they tolerate regular cleaning and resist mildew and mold. Choose bathroom-specific paints since they have components that help with issues related to dampness. To generate an air of openness, light, and neutral colors should be considered. The correct color can also make a small area appear larger.
When choosing a paint color for your bathroom, don’t forget to consider the lighting. Darker colors work well in bathrooms with lots of natural light; smaller bathrooms could benefit from lighter, brighter colors to create an appearance of more space. It’s also worth testing paint samples in the bathroom itself, as colors can look dramatically different under the specific lighting conditions of the room. This ensures the color you choose adds the desired warmth and comfort to your bathroom environment.
Can I Paint Behind a Toilet Without Removing the Tank?
It is possible to paint behind a toilet without having to take the tank out. By avoiding the plumbing labor required to separate and reattach the tank, this method saves time. Smaller sections will need to be covered, but with the correct equipment and methods, you can get a polished finish. For individuals who want to modernize their bathroom without doing major repairs, this is a viable and efficient option. You can move around in confined locations with ease if you have equipment like a small roller or a slim paintbrush. Furthermore, having adequate lighting can make it easier for you to see beyond the toilet tank, facilitating a more precise and complete application. This method is especially useful for quick touch-ups or color changes in rental properties where alterations might be limited.
Tools You Need
To successfully paint behind your toilet, you’ll need a few specific tools:
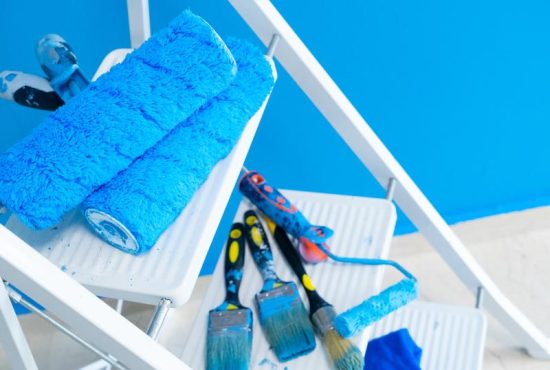
- A narrow paint roller or a specially designed long-handled roller to extend your reach.
- An angled brush for detailed work around the edges and tight spots.
- Painter’s tape to protect the toilet and other surfaces from splatters and drips.
- Drop clothes or old newspapers to keep the floor clean.
- A small, handheld mirror to help you see behind the toilet without having to move it.
Safety Precautions
Ventilation is crucial for painting in small areas. To guarantee sufficient ventilation and lower the chance of breathing pollutants, open windows and utilize fans. Put on safety gear like goggles, gloves, and old clothes that you don’t mind being painted on. To minimize slipping, make sure the floor is dry, and have your tools close at hand to save needless straining or stretching. To avoid any unintentional spills causing electrical problems, it’s also crucial to make sure that any electrical outlets are covered or turned off. Plan your actions thoroughly before beginning your painting endeavor to reduce the need to exit and reenter the area, which can assist keep the workspace tidy and orderly.
Always have a first aid kit accessible in case of any minor injuries or splashes to the eyes or skin.
How to Paint Behind a Toilet Using a Brush?
1. Prepare the Area
Begin by thoroughly washing the wall behind the toilet to ensure that the paint adheres correctly. To get rid of any dirt or grime, use a wall cleanser or a light detergent. After the surface dries, cover the toilet and any nearby areas you want to keep safe with painter’s tape. This preparation stage is essential to getting a crisp, clean finish without breaking nearby fittings. To prepare the surface for the next coat, use a scraper to remove any loose paint or flaking material. This will lessen the probability of flaws in the final paint job. You can ensure a more long-lasting and visually appealing result by carefully prepping the area.
2. Prime the Surface
Primers must be applied if the current paint is shiny or shows evidence of stains and discoloration. Select a high-adhesion primer made for glossy surfaces to guarantee that the topcoat sticks effectively and has a smooth appearance. In addition to its stain-blocking properties, this kind of primer also inhibits color bleed-through, an important aspect of keeping consistency in lighter paint tones. Before moving on to the next stage, let the primer thoroughly dry according to the manufacturer’s directions. A more lasting finish and improved paint coverage are the outcomes of the primer curing properly.
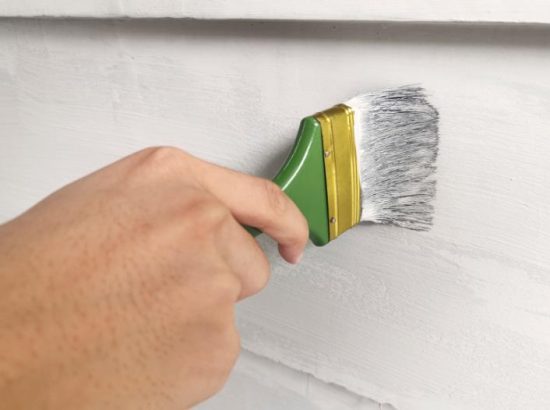
3. Angle Your Brush
Choose a brush with an angle that fits correctly behind the toilet tank. To prevent drips, gently dip the brush into the paint, being careful not to load it too much. Working your way down the wall in smooth, deliberate strokes, start at the top and angle the brush to reach the small area behind the tank. The brush’s slanted tip is particularly helpful for reaching into small spaces and corners, guaranteeing complete coverage without creating a mess. As you work along the wall, periodically adjust the pressure and angle to preserve uniform texture and coverage. Even in the most difficult regions, this technique helps achieve a professional-looking finish and enables exact application.
4. Smooth Application
Use an angled brush to apply paint in even, smooth strokes. To cover every area evenly, especially in corners and close to the floor, take your time and be thorough. The brush’s angle is very helpful for getting under the toilet and covering every square inch of the wall. Take periodic breaks from painting to check for any uneven or missed areas that might require more paint. Maintaining a wet edge throughout the painting process will help to prevent streaks and guarantee a smooth finish. Control the amount of paint on the brush as well to avoid drips and make sure every stroke adds to a layer that is smooth and clean.
5. Second Coat
Once the initial layer has fully dried, evaluate the coverage. Apply a second coat if required to ensure uniform color and the best possible finish. In addition to assuring that the color appears as intended and is free of blotches or light spots, the second coat frequently improves the paint’s durability. In addition to adding longevity and vibrancy to the color, this extra layer deepens the color. To avoid stickiness and uneven textures, give your coatings enough time to dry between applications. If needed, carefully sand the first coat before the second coat to guarantee a smoother finish.
How to Paint Behind a Toilet Using a Roller?
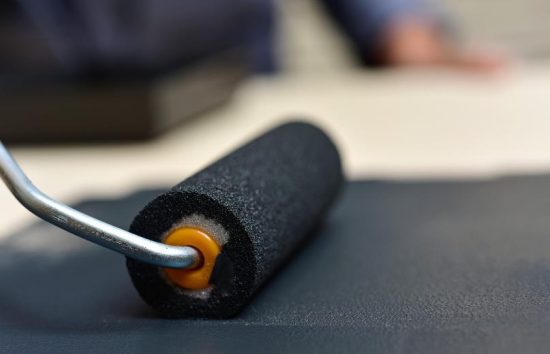
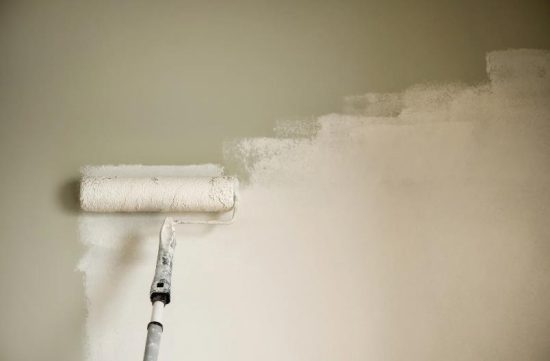
Cover Larger Areas
Select a thin roller designed for small, tight locations. This kind of roller is made especially to maximize application ease and reach in small spaces. To guarantee uniform covering, begin by painting the larger regions that are reachable without the extended handle. Use even, smooth rolls for this task. To prevent spills and drips, make sure the roller is completely loaded with paint but not too saturated. To distribute the paint evenly throughout the wall surface, move back and forth. Maintain constant pressure when rolling to prevent leaving marks. Reloading your roller regularly is crucial to keeping a uniform coat of paint. To prevent thin patches, make sure that every pass slightly overlaps the one before it.
Extend Your Reach
Use an extension pole to reach behind the toilet if the roller handle isn’t long enough. You won’t need to strain yourself or move physically to paint beneath the toilet tank thanks to this equipment. To keep control over the application, make sure the roller is securely attached to the pole. You can reach the difficult space behind the toilet by standing comfortably with the extension pole. To guarantee even covering, move the roller steadily and with control. Make sure the roller is not losing its attachment frequently as this could result in uneven application or accidents. With the expanded reach, you can cover more ground without losing sight of any locations.
Even Pressure
To avoid uneven texture or drips, use the roller with steady pressure. As you work your way down, make sure that the paint is distributed equally across all of the surfaces. To keep a moist edge, it’s important to keep your hand steady and reload the roller as needed. Maintaining a uniform pressure helps keep streaks from forming and guarantees a smooth finish. Take care not to oversaturate the roller with paint, since this might lead to drips. Gradual movements are essential for keeping control of the paint application. This step is important for getting a polished look with the least amount of work.
Overlap Strokes
Make sure each stroke is slightly overlapped with the next to avoid streaking. Smooth paint blending is facilitated by this technique, which is particularly useful in hard-to-reach places. Overlapping prevents any area of the wall from being left unfinished, which, if dry, could result in noticeable lines. A consistent coat should be applied throughout the entire surface by seamlessly blending each overlapping stroke with the one before it. This technique also aids in hiding any flaws from the roller’s initial pass. To ensure complete coverage, pay close attention to the margins where the toilet meets the wall. These places require careful overlapping.
Touch Up
After using the roller, use your angled brush to touch up any places that are hard to reach and the edges. This last coat of paint is essential to getting a polished appearance, making sure that every nook and cranny is well covered. Make use of the brush to access any tight spots that the roller was unable to cover, especially those surrounding toilet bases and plumbing fixtures. At this point, pay close attention to any drips or uneven areas. In addition, the brush can be used to remove any leftover paint that gathers when rolling. To protect your tools for future use, gently remove any painter’s tape and clean them at the end. This careful touch-up ensures that your paint job seems flawless and well-executed.
Conclusion
It is possible to paint behind a toilet without having to remove the tank, and it can drastically change the appearance of your bathroom with little work. You can guarantee a tidy and polished finish by selecting the appropriate tools and adhering to these comprehensive instructions. Homeowners can save time and avoid the inconvenience of detaching and reassembling the toilet tank by using this method. Furthermore, painting the area behind the toilet without taking out the tank makes the bathroom look more unified and seamless.
FAQs
How long does it take for the paint to dry behind the toilet?
Drying times vary depending on the type of paint used and the ventilation in your bathroom. Typically, it’s best to wait at least 24 hours before using the bathroom again.
Can I use a regular paint roller for this job?
While you can use a regular roller for the broader wall areas, a smaller, narrower roller is better suited for the tight space behind the toilet.
What should I do if I accidentally paint over the toilet?
If paint gets on the toilet, wipe it off immediately with a damp cloth. For dried paint, carefully scrape it off with a plastic putty knife.