The flush valve is one of the first parts to look at when your toilet stops working correctly. This crucial component, which is situated at the bottom of the tank which lets water flow into the bowl during a flush and shuts it off afterward. Understanding the flush valve’s workings will enable you to perform repairs on your own and keep your toilet functioning at its best. Replacing this part is not just about fixing it; it’s also about maintaining efficiency and cleanliness in your home. In addition to saving you money and time, knowing how to install a toilet flush valve will also spare you the inconvenience of a broken toilet. Let’s dive into replacing this essential piece of your toilet’s anatomy.
What Are the Uses of Flush Valve?
The flush valve is an important component of your toilet’s functionality. It maintains a suitable seal to keep the water level in the tank and regulates the water flow from the tank into the bowl. This part is essential to your toilet’s overall performance since it ensures that the right amount of water is used for each flush, preventing needless water waste. For a flush to be effective, the valve must be working to conserve water and stop leaks. Additionally, by lessening the load on other parts, a well-maintained flush valve can significantly increase the lifespan of your toilet.
Knowing how it works makes diagnosing problems easier and carrying out any necessary repairs or upkeep. Weak flushes or a flowing toilet are two inconvenient and wasteful outcomes of a malfunctioning flush valve. Inspecting this part regularly and replacing it when needed will save water damage and increase water expenses. By maintaining the flush valve on a proactive basis, you can guarantee the dependable and effective operation of your toilet.
Tools Needed
Before installing, gather all necessary tools to ensure a smooth process. You will need:
- Adjustable wrench
- Sponge and bucket
- Towels or rags
- Screwdriver
- Replacement flush valve kit
These tools will help you remove the old valve and install the new one effectively.
Steps on How to Install a Toilet Flush Valve
Replacing a flush valve is a straightforward task if you follow these steps carefully:
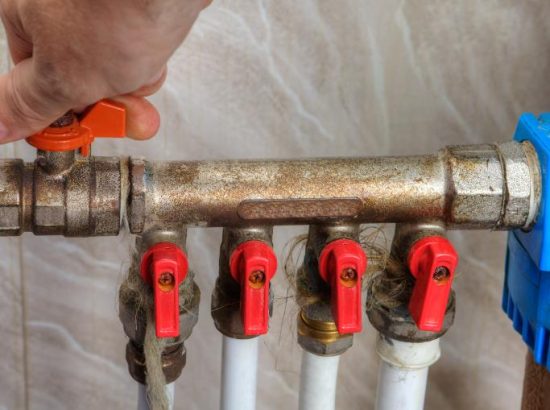
Shut Off the Water Supply
It is often placed next to the base where the water line attaches or behind the toilet. To fully close this valve, turn it in a clockwise direction. You can work in a dry environment since this motion keeps water from entering the toilet. Ensuring the water is off is essential to prevent unanticipated spills or leaks while working. To ensure no more water may leak through, ensure the valve is fully turned. The valve might need to be replaced to keep things operating safely if it doesn’t close all the way. As you continue with the installation, always take the time to make sure everything is completely shut down to prevent issues.
Drain the Tank
To get most of the water out of the tank, flush the toilet after turning off the water. There will still be some water at the bottom, which you must manually drain. To absorb the remaining water, use a sponge or a soft towel. For the sake of a clean working space, make sure the tank is dry. When disassembling the tank, removing all the water is helpful to help avoid spills. This is an essential step since handling components is more accessible and less likely to slip when working in a dry atmosphere. Ensure moisture is thoroughly removed by inspecting the tank’s crevices and corners where water may collect. An organized environment facilitates a safer and more efficient installation process.
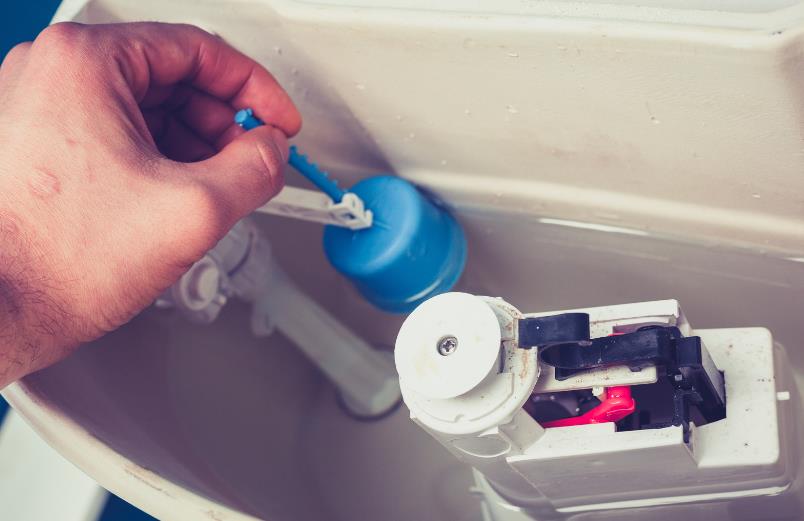
Remove the Old Flush Valve
The water supply pipe that feeds into the tank’s bottom should be disconnected first. The bolts or connectors can be loosened with an adjustable wrench. Using a suitable screwdriver or wrench, unscrew the tank bolts and carefully remove the tank from the bowl, setting it aside. Find the old flush valve in the middle of the bottom of the tank, then unscrew the nuts holding it there. This step is essential for adequate access to and replacement of the valve. To prevent losing any tiny pieces in the process, make sure you store all nuts and bolts in a secure location. Use this chance to clean the area surrounding the old valve so that the new valve is installed with a clean seal.
Install the New Flush Valve
Place the new flush valve in the tank’s bottom entrance. Ensure the replacement valve’s seal is positioned correctly to stop leaks. Tighten the locknut underneath the tank to firmly fasten the valve. As directed in the instructions with your valve kit, attach the flapper to the valve’s tail and connect any chains or hooks. For the flush system to operate correctly, installation must be done correctly. Pay special attention to the manufacturer’s instructions to ensure that all the pieces are assembled in the correct order and orientation. Verify that the flapper can move freely without being obstructed; this is necessary for the correct flushing action. Finally, ensure all connections are tight but not over-tightened to avoid damaging the tank or the new components.
Reassemble the Tank
Ensure the new flush valve fits into the bowl’s bottom opening by carefully lining up the tank over the bowl again and lowering it. Replace and tighten the tank bolts to fasten the tank to the bowl. The connections should be barely snug; if they are, the porcelain may shatter. To prevent leaks at the seal, it is essential to reconnect the tank properly. To distribute the pressure evenly and guarantee a balanced fit, tighten the bolts in a staggered manner, alternating sides. By using this technique, stress spots that can cause seals to crack or become uneven are avoided. Once everything is secured, give the tank a gentle shake to ensure stability and no movements indicate loose fittings.
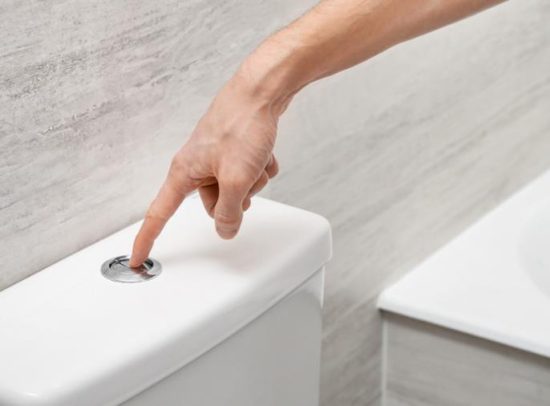
Turn On the Water and Test
By rotating the shut-off valve counterclockwise, you can reopen the water supply. As you watch for any indications of leakage at the new flush valve and connecting locations, let the tank refill. To ensure the new valve is operating correctly, flush the toilet multiple times after the tank is full. This is a crucial step to ensure that the installation went well and there are no problems with the toilet’s efficient flushing. Listen for strange noises during this testing phase that can point to an installation issue. After every flush, check the water level in the tank and the bowl are suitable. This indicates that the flush valve is sealing correctly. If any issues arise during these tests, recheck the connections and the alignment of the flush valve to address them promptly.
Following these detailed instructions will help ensure a successful installation of a new flush valve, restoring your toilet’s efficiency and water conservation capabilities.
When to Call a Professional?

Although the home owner can complete most flush valve installations, there are several circumstances in which hiring an expert may be preferable. A professional plumber can effectively address problems with connections, instability in the toilet foundation, and leaks you cannot rectify. In addition, expert assistance can guarantee that the task is completed accurately if you’re not comfortable carrying out the tasks alone.
The benefit of hiring a plumber also includes experience and knowledge, which may guard against issues down the road and guarantee that all parts are in good working order. A specialist can also offer guidance on toilet maintenance to prevent similar problems down the road. Especially this is for old houses, where plumbing fixtures may need parts that fit current setups or require more skilled handling. Having a professional perform the installation could also help preserve the guarantee in situations where it applies.
Conclusion
The effectiveness of your flush toilet can be significantly increased by installing a new flush valve. You can handle this doable chore with a few simple tools and a little knowledge. Ensuring every connection is safe and leak-free is essential to a successful installation. Feel free to seek expert assistance if you ever feel overwhelmed. In addition to preventing water waste, proper installation improves your toilet’s general performance. You may save money and avoid the hassle of unplanned repairs by performing routine maintenance and updates on the components of your toilet.
FAQ
How long does it take to replace a flush valve?
Typically, it takes about 30 minutes to an hour to replace a flush valve, assuming you have all the necessary tools and no unexpected issues arise.
Can a faulty flush valve cause a toilet to run constantly?
Yes, a worn-out or improperly sealed flush valve can allow water to leak continuously from the tank into the toilet bowl, leading to a running toilet.
Is it necessary to replace the entire toilet if only the flush valve is defective?
No, replacing just the flush valve is often sufficient unless there are other significant issues with the toilet.
Are there different types of flush valves?
Yes, flush valves come in different sizes and styles. Ensure you purchase the correct type that fits your toilet’s specifications.