Although dealing with a broken toilet handle might be annoying, you can usually fix it yourself without calling a professional plumber. Simple tools and patience are needed to fix this typical bathroom problem. We’ll walk you through a quick and easy do-it-yourself method in this article to get your toilet handle fixed. In addition to saving money on plumbing bills, you’ll learn practical skills for maintaining the bathrooms in your house. You will know precisely how to fix a toilet handle when you finish reading this blog, guaranteeing that it works smoothly and effectively.
Tools and Materials Required
Gathering all necessary items before you begin the repair is vital to ensure the process is smooth and uninterrupted. Here’s what you’ll need:
- Adjustable wrench or pliers
- Screwdriver (both Phillips and flat-head)
- Replacement handle (if necessary)
- Gloves (optional but recommended for hygiene)
Ensure you have a well-lit working area and transparent access to the toilet tank. To catch accidental spills or drips, play towels around the base.
Steps of Fixing Toilet Handles
Turn Off the Water Supply
Turning off the toilet’s water supply is crucial before beginning any repairs to prevent spills and flooding. This valve is usually located close to the floor, right behind the bathroom. To ensure the water is turned off, turn the valve clockwise until it stops. By doing this, water cannot enter the tank while you are working. Try flushing the toilet to see whether the water is off; if it does not replenish, you are good to go. It’s a valuable safety precaution that also keeps the work environment dry. This easy action prevents water waste and can stop unintentional spills. Always double-check to ensure the valve is fully closed and no water leaks into the tank during repairs.
Remove the Tank Lid
To begin, take care of removing the toilet tank lid. Grasp the lid with both hands, carefully raise it straight up, and place it aside. It is advisable to set the lid down on a towel or other soft surface to prevent harming the lid or the surface. This step is crucial because porcelain frequently used for tank lids is easily chipped or cracked if not handled with care. Clearing the lid, you may fully view the tank’s interior, including the handle mechanism. Before beginning your repair session, ensure your workspace is safe, and the lid is out of the way. Handling the lid with care prevents unnecessary replacements due to breakage.
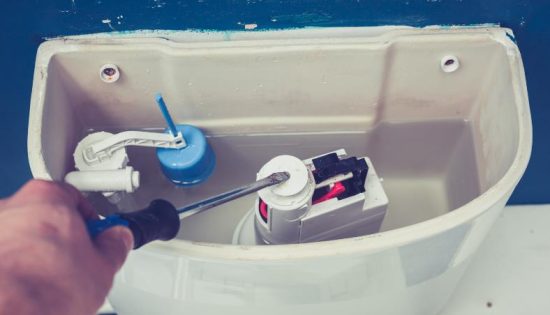
Inspect the Handle and Internal Mechanism
Now, carefully examine the interior of the tank. Examine the handle and any attached components for evidence of deterioration, corrosion, or wear. It’s possible that the handle is loose or that the chain and connecting arm are tangled or broken. Finding the precise issue will help you decide what to do next, whether it calls for a replacement or just a tiny change. This assessment aids in identifying problems that, although frequently straightforward to resolve, may result in severe complications if neglected. Examine the handle mechanism for rust and broken pieces; these are common problems. Reattaching a chain that has slipped or tightened a loose bolt is often the only solution needed.
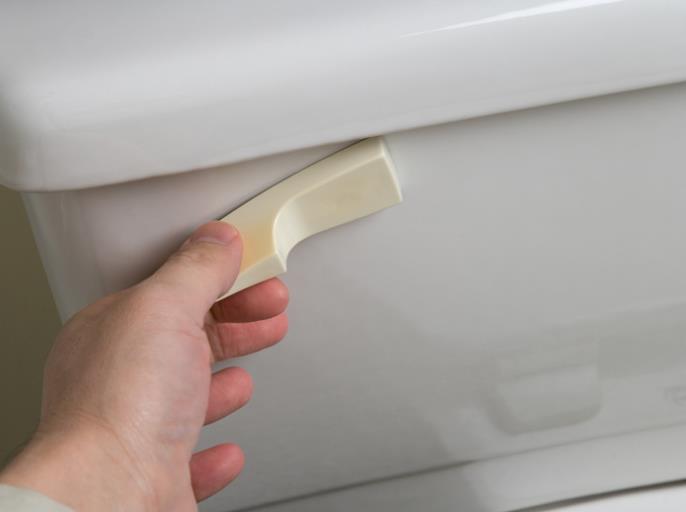
Tighten or Replace the Handle
Tighten the nut within the tank, frequently found on the inside side of the handle, to secure the handle if it is loose. Turn the nut clockwise with pliers or an adjustable wrench until it is secure. Take care not to overtighten, as this could cause the tank’s porcelain to break. Should the handle become damaged or break, it must be replaced. Turn the nut counter clockwise to unscrew the old handle, then remove it from the tank. Place the replacement handle into the mounting hole and tighten it with the included nut. Verify that it slides smoothly and doesn’t stick—a sign of a correctly installed system. This repair not only fixes the immediate problem but also helps prevent future issues by securely fastening all parts.
Reattach and Adjust the Lift Chain
The lift chain connects the handle mechanism and the flapper at the bottom of the tank. For this chain to work effectively, roughly half an inch, there should be a small amount of slack. The toilet may run constantly if the chain is overly tight, which may keep the flapper from closing properly. On the other hand, the toilet may only flush if it is tight enough. You can change the length of the chain by either connecting it into a different hole on the lift arm or adjusting the clip that secures it. When using the handle, make sure the flapper opens and closes completely. The lift chain must be adjusted appropriately to ensure water saving and effective toilet performance.
Test the Repair
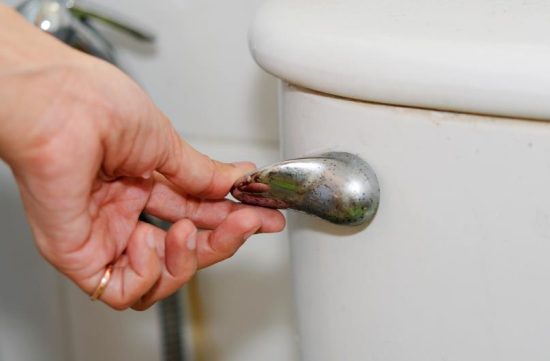
Now that everything has been adjusted and replaced, it’s time to put your work to the test. Rotate the valve counterclockwise to reactivate the water supply. Permit the water to fill the tank. Flush the toilet multiple times after it is complete to ensure the internal mechanism and handle are operating efficiently. Look inside the tank and around the handle for any leaks. Your repair is effective if the toilet refills and flushes correctly without running. By thoroughly testing the repair, you can ensure everything works and avoid future issues and maintenance.
Conclusion
A well-executed toilet handle repair can improve bathroom functionality and avoid further problems in the future. If you have the necessary equipment and knowledge, you can save time and money by doing this task yourself. Remember that maintaining the effectiveness of your toilet requires a handle that operates smoothly. Finishing this repair will make your bathroom more dependable and give you more confidence when doing house maintenance. The life of your bathroom fixtures can be significantly increased with routine inspections and minor repairs. Furthermore, you can avoid future expensive repairs and plumbing emergencies by taking preventative measures now.
FAQs
What do I do if the handle still sticks after tightening?
If the handle continues to stick, it may be due to a worn-out flapper or chain issue. Consider replacing these parts if they appear degraded.
How often should I check my toilet handle for maintenance?
Inspecting your toilet handle and internal mechanisms at least once a year is good practice to prevent any unforeseen failures.
Can I replace a toilet handle with any model?
While many toilet handles are universal, checking compatibility with your toilet model before purchasing a replacement is best.
Is it necessary to turn off the water supply before starting the repair?
Turning off the water supply is crucial to avoid flooding and allows for a safer repair process.
What should I do if I need the tools required?
Essential plumbing tools are generally affordable and helpful for various household repairs. However, if you cannot obtain them, consider borrowing from a neighbor or renting from a local hardware store.