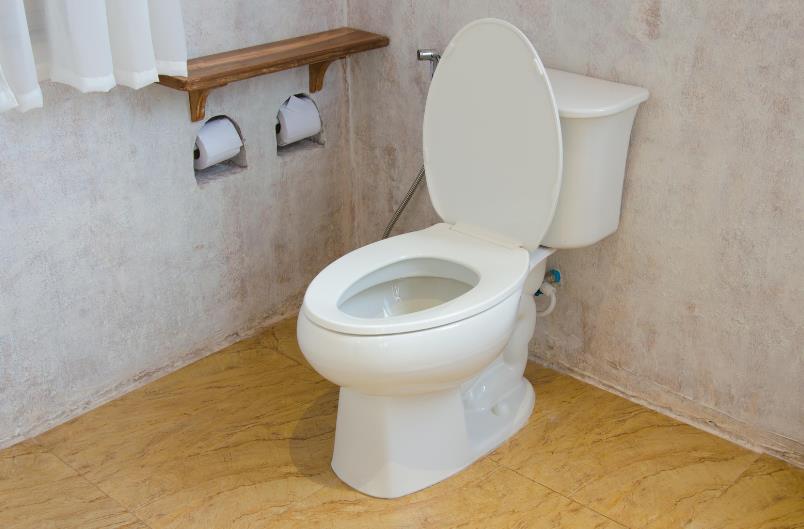
Many homeowners will need to drain a toilet at some point. Whether you’re preparing to fix a clog, clean the bowl, or even remove the entire fixture, understanding the proper technique to empty the toilet’s water is crucial. This blog will guide you how to drain a toilet, ensuring you can handle this task with ease. Learning to do this effectively is essential for proper toilet maintenance and repair.
When do we have to drain a toilet?
Repairs and Replacements
Draining the tank and bowl is required when toilet components need to be replaced, including the flapper, fill valve, and flush valve. This method allows you to work in a dry atmosphere, safer and more efficient for handling interior components. When parts are removed, draining keeps water from creating a mess. It also allows you to see more clearly inside the toilet, making it easier to spot and fix problems. This is especially crucial when sealants need to be applied or when coatings are worn out. Additionally, a dry, empty toilet keeps any leftover water from weakening or removing any cleansers or adhesives used during the repair. Ultimately, this method is essential for successful and productive toilet upkeep.
Fixing Clogs
Draining the toilet may be required for thick clogs that cannot be cleared with a plunger or auger. With this method, water is not a challenge, and you may reach the blockage directly with tools or chemicals. You can apply solvents directly to the blockage, increasing their efficiency by draining the toilet. While trying to remove the blockage, this technique also lessens the chance of an overflow. It enables handling potentially unhygienic situations in a more regulated and hygienic setting.
You may need to reach into the drain in certain situations, and it is safer and more sanitary to do so once the water is removed. A dry bowl also keeps chemicals and cleaning substances from diluting, increasing your work’s effectiveness.
Cleaning
Emptying the tank and bowl is often necessary for thorough toilet cleaning, particularly when addressing hard water buildup or stains. Cleaning solutions can be applied directly after the water has been drained, and they are more effective on dry surfaces. This is especially crucial for cleaning solutions that must remain on the surface to dissolve deposits. You may clean more complicated things thoroughly without water, especially around the siphon jet and under the rim.
Also, draining keeps the cleaner from diluting and guarantees it stays strong where it’s most required. This method not only leaves the toilet cleaner but also prolongs its life by getting rid of ugly or corrosive deposits. Generally, inspecting and maintaining a dry, empty toilet is simpler.
Relocation or Replacement
To prevent untidy spills, drain your toilet if you intend to replace or move it—possibly during a bathroom makeover. By emptying the toilet, you lower the possibility of water damage to your floor or the fixture by making it lighter and more straightforward.
Additionally, it keeps any leftover water from overflowing when the toilet is unbolted from the floor, and the water supply is turned off. After removing the toilet, you may thoroughly clean the space to prepare it for a new installation. This is also a great time to look for any evidence of damage or leaks in the flange and surrounding floor. The toilet must be drained and removed to ensure installation or restoration work begins on a clean, dry base. This step is essential for both practical and sanitary reasons during toilet modifications.
Before a Long Absence
It’s a good idea to empty your toilet before leaving your house for an extended period, such as when you go on vacation or leave the house unattended in the winter. This keeps the water in the tank and bowl from stagnating, which may cause bacteria to grow or produce offensive smells. Draining the toilet helps stop the water from freezing in colder climes, which could break the porcelain or harm the piping. It guarantees that nothing will go wrong while the house is vacant, saving you work when you go back.
This precautionary action is crucial for vacation houses and other properties that don’t receive routine upkeep. In these kinds of instances, draining the toilets can save a lot of cash and issues down the road. Draining the toilets in such situations can save significant repair costs and trouble in the long run. Overall, this step is essential to preparing your property for a period of inactivity.
How to Drain a Toilet Tank?
Emptying the tank is nearly always the first step in toilet repairs. The method can be start by turning off the water connection to the toilet. The valve is typically located just behind or beside the bathroom. Flush the toilet to maximum water out of the bowl and tank as possible after turning off the water. Using a sponge or towel, remove any leftover water from the tank. If required, disconnect the water supply line from the tank. This is typically necessary to replace the toilet or its internal parts. To avoid spillage, ensure no moisture is left in the tank and completely dry it off. Identifying and replacing parts becomes more accessible with a dry tank while troubleshooting internal processes.
Remember, never force components; everything in your toilet’s tank should come apart quickly with essential hand tools. Once you finish your task, reconnect everything and slowly turn the water back on to check for leaks. Make sure all connections are secure to avoid water damage.
Drain a Toilet That Won’t Flush
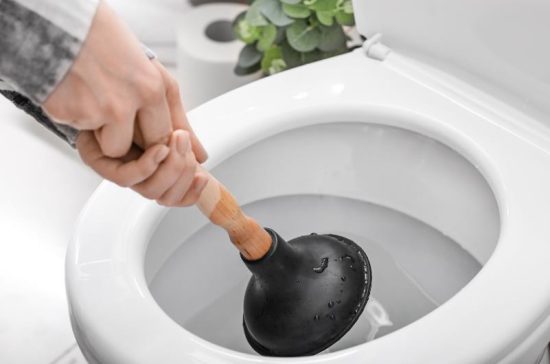
For maintenance purposes, emptying a toilet that isn’t flushing correctly may still be necessary. Start by draining the water from the bowl using a little container in these situations. Take care not to spill if the water level is high. Make a mix of hot (not boiling) water and dish soap to assist in dissolving minor clogs after draining as much water as possible. This may increase the effectiveness of successive plunges. Make sure there is just enough water in the tank to cover the plunger if it is necessary to plunge. To help loosen obstructions, forcefully press the plunger to generate pressure in the drain. To get further into the drainage system, you may need to use an auger or plumbing snake if these solutions don’t work.
Always wear gloves and maintain a clean workspace to avoid contamination or damage. Finally, please verify that the issue is resolved by flushing the toilet once it’s reassembled and restoring the water supply.
Drain a Toilet for Removal
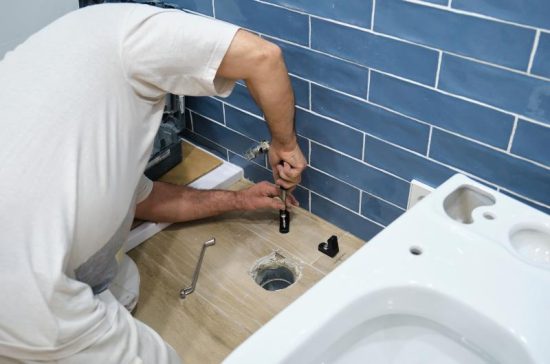
The unit must be drained when removing a toilet for replacement or repair. Use a sponge to remove leftover water from the tank and bowl after turning off the water and flushing to reduce the water level. After unplugging the water supply line, remove the mounting nuts holding the toilet to the ground. Cut through the caulk with a utility knife if there is a caulk between the bathroom and the floor. To release the wax seal and raise the toilet straight up and away from the bolts, gently shake the toilet.
Place the toilet on a towel or piece of paper to catch any leaks. Ensure you have a plan for waste disposal according to local regulations, especially if you are not reinstalling the toilet immediately. Clean the area thoroughly once the bathroom is removed to prepare it for a new installation or thorough floor cleaning.
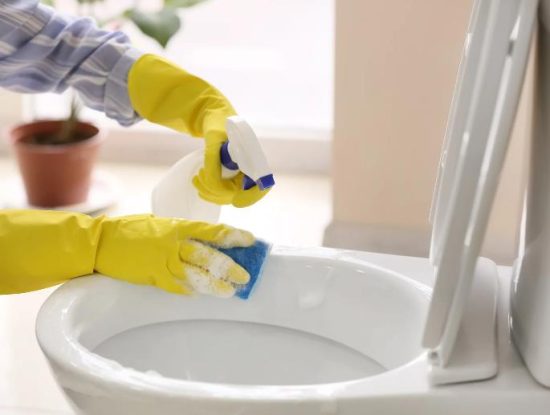
Drain a Toilet for Cleaning
Regular cleaning of your toilet requires draining to access and remove buildup effectively. After shutting off the water and flushing, use a cup or small container to scoop out any remaining water from the bowl. Scrub the empty bowl with a toilet brush and a cleaner appropriate for your type of toilet material.
Pay extra attention to areas under the rim and near the outlet, where deposits frequently accumulate. Rinsing the brush often during cleaning will help remove debris effectively. Once the bowl is clean, turn the water supply back on and flush to rinse any remaining cleaning agent several times. This method ensures a thorough cleaning, which can help prevent future stains and maintain hygiene.
Drain a Toilet Without a Plunger
If you ever find yourself in a situation where you don’t have a plunger and need to clear a toilet, start by filling the bowl with plenty of dish soap. After that, use hot water—not boiling water—to soften the blockage. Let this mixture sit for a few minutes to help break down the substance causing the obstruction.
As the blockage starts to dissolve, the water level should gradually drop throughout this period. It might be helpful to add extra hot water if the water level doesn’t fall. The toilet should be able to flush normally once the obstruction has been removed. Utilizing non-corrosive components in your toilet is crucial to prevent plumbing damage. Frequent maintenance inspections can assist in keeping these incidents from happening frequently.
Conclusion
Draining your toilet is one of the most critical skills for cleaning and fixing your bathroom fixtures. Effectively emptying your toilet and its parts is crucial, whether you’re doing simple maintenance or more involved repairs. Recall that it’s best to contact a licensed plumber if you encounter any plumbing problems beyond your scope of expertise.
FAQs
What should I do if I can’t locate the shut-off valve?
If you can’t find the shut-off valve, it may be hidden behind the toilet or within a panel. If still unlocated, you may need to shut off the main water supply to your house as a last resort.
Is there an environmentally friendly way to clean a toilet?
Yes, baking soda and vinegar can provide an effective, eco-friendly alternative to chemical cleaners. This natural combination can help break down deposits and sanitize the toilet.
How often should I check my toilet for leaks or issues?
Inspecting your toilet for leaks and other issues every six months to ensure everything functions properly and prevents water wastage is a good practice.