Are you tired of that leaky, outdated bathroom faucet? Or maybe you’re looking to upgrade and give your bathroom a fresh new look. The good news is, you don’t have to hire a professional plumber or spend a fortune to replace your bathroom faucet. With the right tools and instructions, you can tackle this home improvement project yourself! So, why wait? Let’s dive into this step-by-step guide on how to replace a bathroom faucet.
How to replace bathroom faucet? It may seem like a daunting task, but it’s actually more straightforward than you might think. By following the correct procedure, you can successfully replace your old faucet and enjoy a modern, functional upgrade in no time. Plus, doing it yourself can save you money and give you the satisfaction of completing a DIY project.
So, what are you waiting for? Grab your tools and get ready to embark on a rewarding home improvement journey. But before we dive into the nitty-gritty details, let’s start with an overview of the process and the tools you’ll need for a smooth faucet replacement.
Understanding Faucet Types Before Replacement
Before you start replacing your bathroom faucet, it’s important to understand the different types of faucets that you may encounter. By knowing the characteristics and installation requirements of each type, you can ensure a smooth and successful replacement process. Also it give your stylish and fresh look to your bathroom. Let’s take a closer look at the three main faucet types: single hole faucets, center set faucets, and split set faucets.
Identifying Single Hole Faucets
A single hole faucet, as the name suggests, requires only one hole in the sink or countertop for installation. It features a single spout and handle, making it a sleek and modern choice for bathroom sinks. To identify a single hole faucet, look for a single centralized fixture that combines the spout and handle.
Distinguishing Center Set Faucets
Center set faucets are the most common type and are often found in older bathrooms. These faucets consist of separate handles and a spout, which are mounted on a deck plate that covers three holes in the sink or countertop. To identify a center set faucet, look for two separate handles placed on either side of a spout.
Recognizing Split Set Faucets
Split set faucets, also known as widespread faucets, are similar to center set faucets in terms of their separate handle and spout design. However, split set faucets feature handles and a spout that are mounted on individual components, allowing for more flexibility in terms of installation. To recognize a split set faucet, look for separate handles and spout components that are spaced apart, requiring multiple holes in the sink or countertop.
Understanding the different faucet types will help you accurately identify the type of faucet you currently have in your bathroom. This knowledge is essential when it comes to selecting and installing a new faucet that is compatible with your existing sink or countertop configuration.
Tools Required
When it comes to replacing a bathroom faucet, having the right tools is essential for a smooth and successful installation. Here are some of the essential tools you’ll need:
- An adjustable wrench for loosening and tightening nuts and bolts.
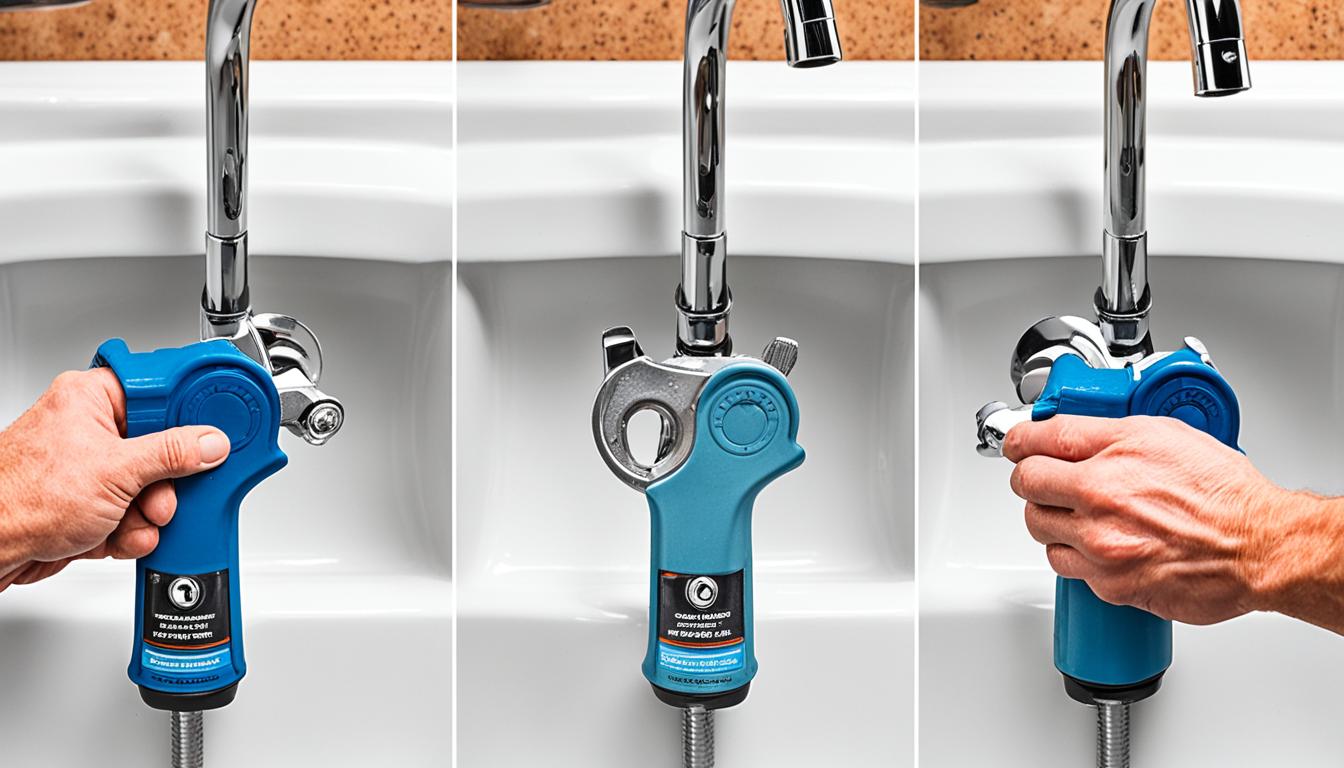
- A basin wrench for reaching and turning hard-to-reach mounting nuts.
- A screwdriver (Phillips or flathead) for loosening and tightening screws.
- Plumber’s putty for creating a watertight seal around the base of the new faucet.
- Plumber’s tape for ensuring a tight and leak-free connection between pipes and fittings.

Initial Preparation: Shutting Off the Water Supply
Before you begin replacing your bathroom faucet, it’s crucial to turn off the water supply to avoid any leaks or water damage. Follow these step-by-step instructions to safely turn off the water supply:
- Locate the shut-off valves under the sink or in your basement. The shut-off valves are typically located near the pipes connected to the faucet.
- Turn the handle of each shut-off valve clockwise to shut off the water supply. This will shut off the hot and cold water lines.
- Once you have shut off the water supply, open the faucets to relieve any pressure and drain any remaining water in the pipes.
It’s important to take safety precautions while shutting off the water supply. If you are unsure about the location of the shut-off valves or experience any difficulties, consult a professional plumber for assistance.
By shutting off the water supply, you are ensuring a safe and efficient process for replacing your bathroom faucet. Now that you have completed this crucial step, you are ready to proceed to the next stage of the faucet replacement process.
Removing the Old Bathroom Faucet
Before installing a new bathroom faucet, it’s important to remove the old one. This section will guide you through the process, ensuring a smooth transition to your new fixture.
Disconnecting Water Supply Lines
Begin by turning off the water supply to your bathroom faucet. Locate the shut-off valves under the sink or in the basement, and turn them clockwise to shut off the water flow. Once the water is shut off, open the faucet to release any remaining water in the lines.
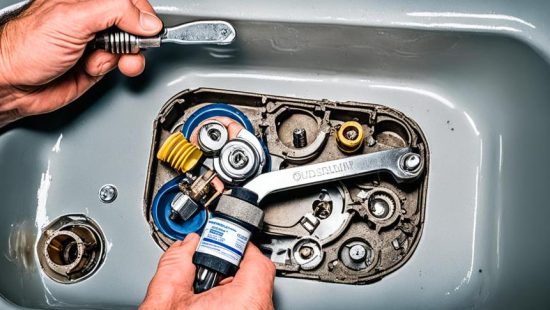
Next, use an adjustable wrench to disconnect the water supply lines from the faucet. Loosen the nuts connecting the supply lines to the faucet, and carefully remove the lines.
Unscrewing Mounting Nuts and Detaching the Faucet
With the water supply lines disconnected, you can now work on removing the faucet itself. Locate the mounting nuts that secure the faucet to the sink.
Using a basin wrench or adjustable wrench, unscrew the mounting nuts in a counterclockwise direction. Once the nuts are loose, you should be able to detach the faucet from the sink.
Be gentle when removing the faucet to avoid damaging the sink surface. If the faucet is stuck or difficult to remove, apply penetrating oil to the mounting nuts and give it some time to loosen before attempting to remove it again.
Cleaning the Sink Surface and Faucet Area
After removing the old faucet, it’s important to clean and prepare the sink surface for the installation of the new fixture.
Use a mild cleaner or vinegar solution to remove any debris, mineral deposits, or residue from the sink surface and faucet area. Scrub gently with a soft cloth or sponge to avoid scratching the surface.
Ensure that the sink surface and faucet area are completely dry before proceeding with the installation of the new faucet. This will help ensure a proper seal and prevent any potential issues.
How to Replace Bathroom Sink Drain Components

When it comes to replacing bathroom sink drain components, it’s important to follow the correct procedure to ensure a successful and leak-free installation. This section will guide you through the process, step by step.
First, you’ll need to remove the old drain. Start by disconnecting the P-trap, which is the curved pipe beneath the sink. Loosen the nuts on both ends of the P-trap using pliers or a wrench, and then carefully remove it.
Next, unscrew the drain flange from the sink. You may need a drain wrench or pliers to loosen the flange. Once it’s loose, you can simply lift it out of the sink.
Now that the old drain is removed, it’s time to install the new drain components. Begin by attaching the tailpiece to the bottom of the sink. Insert the tailpiece into the opening and secure it with the provided nut, tightening it with pliers or a wrench.
Before attaching the new drain flange, apply a thin bead of silicone sealant to the underside of the flange. This will help create a watertight seal. Then, insert the flange into the sink opening and press it down firmly.
With the flange in place, secure it by tightening the flange nut underneath the sink. Use pliers or a drain wrench to ensure the flange is securely attached.
Finally, connect the P-trap to the tailpiece. Insert one end of the P-trap onto the tailpiece and tighten the nut securely. Repeat the same process on the other end of the P-trap, connecting it to the main drain pipe.
Once all the connections are tightened, turn on the water supply and check for any leaks. If you notice any leaks, tighten the connections further or apply additional sealant as needed.
Congratulations! You have successfully replaced the bathroom sink drain components. Now you can enjoy a properly functioning and leak-free sink.
Installing the New Bathroom Faucet
Positioning the Faucet and Gaskets Correctly
Now that you have removed the old bathroom faucet, it’s time to install the new one. Start by positioning the faucet in the desired location on the sink. Ensure that it is aligned properly and centered.
Next, place the gaskets provided with the faucet onto the sink holes. These gaskets will help create a watertight seal and prevent any leaks. Make sure that the gaskets are positioned correctly, covering the holes completely.
Securing the Faucet with Washers and Lock Nuts
Once the faucet and gaskets are in place, it’s time to secure them to the sink. Underneath the sink, locate the mounting holes and thread the provided washers onto the faucet tailpieces. Slide the lock nuts over the tailpieces and tighten them by hand. Use a basin wrench or adjustable wrench to ensure a snug and secure fit.
Connecting the Hot and Cold Water Supply Lines
With the faucet securely fastened, it’s time to connect the hot and cold water supply lines. Start by attaching the supply lines to the corresponding tailpieces on the faucet. Use an adjustable wrench to tighten the connections, ensuring they are snug but not over-tightened to avoid damaging the threads.
Next, connect the other end of the supply lines to the shut-off valves located under the sink. Again, use an adjustable wrench to tighten the connections. Make sure that both the hot and cold supply lines are securely connected.
With the faucet installed and the water supply lines connected, your new bathroom faucet is ready to use. Before testing its functionality, make sure that all connections are properly tightened and there are no leaks. Refer to the next section for instructions on how to test the faucet and address any potential issues.
How to Replace Bathroom Faucet and Test Functionality

To complete the faucet replacement process, it’s crucial to test the functionality of your new bathroom faucet and check for any leaks. Follow these steps to ensure a successful finalization of your faucet replacement:
- Turn on the water supply valves by adjusting the handles clockwise.
- Open the hot and cold water faucets to allow water to flow through the new faucet.
- Inspect all the connections, including the supply lines, gaskets, and mounting nuts, for any signs of leaks or water drips.
- If you notice any leaks, tighten the connections or consider adding additional plumber’s tape or sealant to create a proper seal and prevent further leakage.
- After confirming that there are no leaks, test the functionality of your new faucet by operating the handles and adjusting the water flow as necessary.
- Monitor the faucet for any unusual sounds or water leakage during operation.
- If you encounter any issues, refer back to the troubleshooting tips provided in section 10 for guidance.
Ensuring a Proper Seal During Faucet Installation
When replacing a bathroom faucet, ensuring a proper seal is crucial to prevent any potential leaks. An improper seal can lead to water damage, mold growth, and costly repairs. To avoid these issues, follow these important tips and techniques:
1. Use plumber’s tape or thread sealant on the threaded connections. Applying plumber’s tape or sealant helps create a tight and secure seal, preventing any water from leaking.
2. Tighten the connections correctly. Use the appropriate tools, such as an adjustable wrench or pliers, to tighten the connections without over-tightening. Over-tightening can damage the connections or cause leaks.
3. Check for any signs of leakage. After installing the faucet, turn on the water supply and inspect all the connections carefully. Look for any drips, water puddles, or moisture around the connections. If you notice any leaks, turn off the water supply immediately and double-check the connections.
Addressing Common Challenges When Replacing Faucets
During the process of replacing your bathroom faucet, you may encounter some common challenges that can be easily overcome with the right approach. One challenge homeowners often face is dealing with mounting nuts that are stuck or difficult to loosen. To tackle this issue, you can try using a penetrating oil to loosen the nuts or using an adjustable wrench with more leverage.
Corroded connections are another challenge that may arise, especially if your old faucet has been in place for a long time. To address this, you can use a wire brush or sandpaper to clean the corroded areas before attempting to disconnect or remove the connections. Applying a rust dissolver or lubricant can also help loosen the corrosion.
Finally, unexpected leaks can occur when replacing a faucet, causing frustration and potentially damaging your bathroom. One possible cause of leaks is improper sealing of the connections. To prevent this, make sure to apply plumber’s tape or sealant to create a watertight seal. If leaks persist, double-check that all connections are properly tightened and inspect the washers for damage or wear.
By understanding and being prepared for these common challenges, you can ensure a successful faucet replacement process. Remember to take your time, follow the instructions carefully, and don’t hesitate to seek professional assistance if needed.
FAQs for How to Replace a Bathroom Faucet
What tools do I need to replace a bathroom faucet?
You will need a basin wrench, adjustable wrench, plumber’s tape, screwdriver, and a bucket. Having some cleaning supplies on hand is also helpful for cleaning the area once the old faucet is removed.
How do I turn off the water supply to the faucet?
Find the shut-off valves below the sink and turn them clockwise to close. If your sink doesn’t have shut-off valves, you’ll need to turn off the main water supply to your home.
How do I remove the old faucet?
Disconnect the water supply lines using a wrench, then unscrew the mounting nuts holding the faucet in place. Lift the old faucet out and clean the area around the sink holes.
How do I install the new faucet?
Place the new faucet in the sink holes and secure it with mounting nuts from underneath. Connect the water supply lines to the new faucet and tighten with a wrench, then turn the water supply back on to check for leaks.

