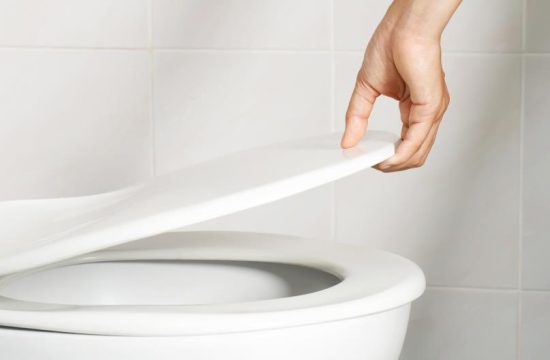
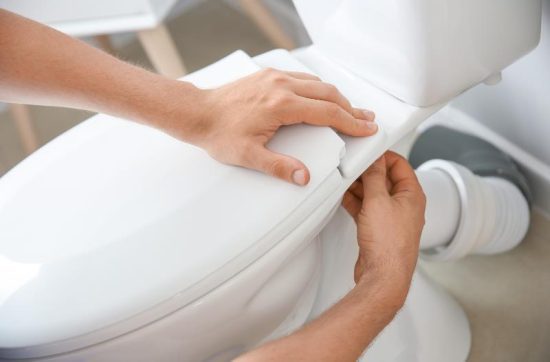
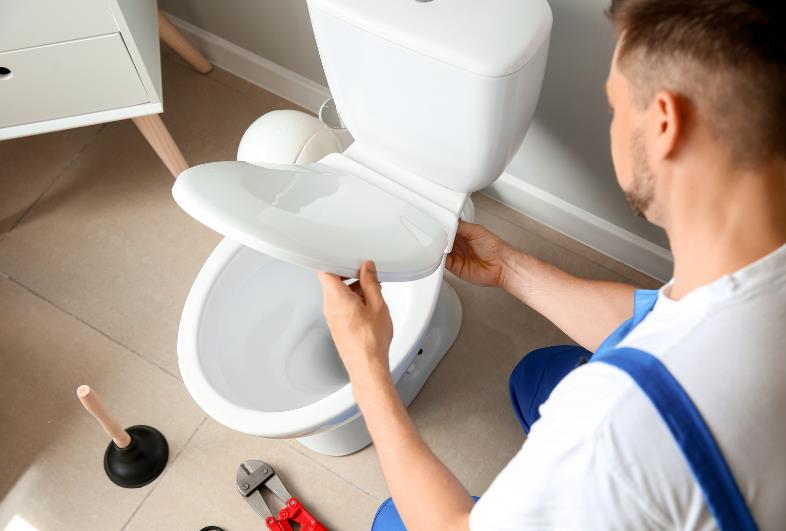
An unsteady toilet seat is more than just a mere inconvenience; it might be a sign of wear and tear that requires immediate replacement. In this guide, we will look at how to use basic equipment and methods to secure a loose toilet seat. Time can be saved, and a secure and comfortable toilet environment can be guaranteed by knowing how to tighten toilet seat. Furthermore, resolving this problem quickly protects the toilet and its seat from additional harm. Additionally, it removes the possibility of mishaps caused by an unsteady seat. You may regain stability and faith in the functionality of your bathroom by following this approach.
Why Do We Have to Tighten the Toilet Seat?

In order to ensure comfort and safety, stability of the toilet seat is necessary. Frequent use over time might cause the seat to loosen, which can cause uncomfortable movements and possible risks when standing or sitting down. Ensuring the seat is firmly fixed increases the bathroom fixture’s longevity and preserves the hardware’s strength. Frequent inspections and modifications keep the seat from slipping or coming loose, preventing unplanned accidents. A tight seat also reduces the buildup of germs and dirt in difficult-to-reach regions, which is crucial for hygiene. All users, especially little ones and older people, can use the restroom safely if they have a sturdy seat. Homeowners can avoid more expensive repairs or replacements by practicing timely maintenance.
Tools Required
- Screwdriver
- Wrench
- Hex Wrench
- Pliers
How to Tighten Toilet Seat?
Identifying the Type of Fasteners
First, look at the back of the toilet seat to see what fasteners are on it. Bolts, nuts, and screws are common varieties that come in a variety of sizes and shapes. Verify if working with them requires a wrench or a screwdriver. Using the proper tool is essential to preventing damage to the fasteners. If in doubt, refer to the specifications in the manufacturer’s handbook. This first step sets up the foundation for a successful correction. Knowing which particular fasteners your toilet utilizes will also make it easier for you to buy replacements should the need arise in the future. A smoother maintenance experience is ensured by knowing the precise kind and size of fasteners, which assists in quickly solving any issues that may emerge.
Lifting Protective Caps
To keep the fasteners clean and stop corrosion, many toilet seats have protective coverings. Using your fingers or a flat instrument, carefully remove these caps. To prevent shattering the caps, exercise caution while applying undue force. When it opens, you’ll see the fastener heads, which can now be adjusted. This procedure guarantees that the fasteners will hold up well for upcoming modifications. After maintenance, replace the caps immediately to prevent losing them because exposed fasteners corrode easily. Replacing the caps carefully ensures that the toilet’s aesthetics are preserved in addition to preventing harm.
Tightening the Fasteners
Proceed to tighten the bolts by using the appropriate tool. You should feel resistance as you turn them clockwise. Hold the seat firmly in place while you tighten it to keep it from moving. Before you finish tightening, reposition the seat if it moves to ensure it is precisely centered. This action is essential to preserving the seat’s stability and alignment. Take your time since precise tightening will prevent the seat from requiring repeated readjustments. To ensure the seat is positioned equally, take regular breaks during tightening to check the alignment.
Avoiding Overtightening

It is essential to avoid overtightening the fasteners as this may cause the toilet bowl or seat to break. Adjust the fasteners so they are snug but not pressed. Feel for when the resistance starts to rise noticeably to prevent going overboard. Generally, it would help if you stopped when the seat feels firm and does not wobble. Excessive tightening may also cause future adjustments to be challenging and may even strip the screws or bolts, necessitating replacement. The longevity of the toilet’s parts and avoiding damage depend on careful handling.
Testing the Seat
After the seat has been tightened, perform a quick test by gently sitting on it. To check for movement, slightly shift your weight. Once the seat is securely fastened, there shouldn’t be any slipping or swaying. Make sure the safety and comfort of all users requires the completion of this exam. It’s also a good idea to retest the seat after a few days of use since this can assist in determining whether any additional changes are required. This step reassures you that the seat will stay stable and verify how well you tightened it.
Replacing Protective Caps
Once the seat has been tightened, sit on it gently. Move your weight a little bit to see if there is movement. There shouldn’t be any slippage or swaying once the seat is firmly secured. This test must be finished in order to guarantee the comfort and safety of every user. After using the seat for a few days, it’s a good idea to recheck it, as this can help establish whether any extra adjustments are needed. In addition to checking how tightly you adjusted it, this step gives you peace of mind that the seat will remain stable.
Regular Maintenance Checks
Last, develop the practice of routinely checking the toilet seat’s security. You can perform this as needed or every few months. By doing routine inspections, you can detect any loosening early on and save the seat from becoming dangerous. Your toilet seat’s long-term durability and usability depend on this regular maintenance. You may avoid unforeseen problems and guarantee comfort for all toilet users by scheduling this check into your home maintenance routine. Maintaining consistency in these checks might help prevent unpleasant surprises during inconvenient times, such as holidays or visitor visits.
A toilet seat might loosen for several reasons.
- Frequent use is the most common cause, as repeated pressure can cause the fasteners to shift.
- The materials of the seat and its fittings may also be impacted by environmental variables including humidity and temperature fluctuations, which could cause them to expand or contract.
- In some cases, improper installation might leave the seat prone to loosening over time.
- Understanding these factors can help in maintaining the seat’s stability.
- Poor quality materials manufacturing the toilet seat can contribute to premature loosening.
- Excessive weight or pressure applied to the seat, such as standing on it, can lead to loosening of the fasteners.
- Vibrations from nearby construction or heavy machinery can gradually loosen the seat over time.
- Chemical cleaning agents or harsh toilet bowl cleaners may corrode or degrade the fasteners, causing them to loosen.
- Aging of the toilet seat itself, especially if it’s made of plastic or wood, can result in structural weakening and loosening of the fasteners.
- In households with children or pets, playful behavior or rough handling of the toilet seat can accelerate loosening
Conclusion
Maintaining toilet comfort and safety requires knowing how to secure toilet seats correctly. This work can be handled fast and effectively with the correct equipment and some knowledge. It is better to perform routine maintenance to keep the seat from falling loose again. Remember that a clean and well-maintained toilet seat enhances your bathroom’s general hygienic and functional aspects. It is also worthwhile to take the time to fix this issue because it not only improves user comfort but also helps to avoid accidents. Maintaining a hygienic and secure environment for all users in the restroom may be achieved by being proactive with toilet care. This easy modification can significantly enhance your quality of life daily, highlighting the significance of regular home care.
Related Articles:
- How to Measure Toilet Seat?
- How to Replace a Toilet Seat?
- What Kind of Infections Can You Get from a Toilet Seat?
FAQs
How often should I check the tightness of my toilet seat?
It is recommended to check the tightness of your toilet seat every few months or as needed. Regular checks help catch any loosening early, preventing the seat from becoming a hazard.
Can I use any tool to tighten my toilet seat?
The type of tool you need depends on the fasteners used to secure the seat. Common tools include a screwdriver, wrench, hex wrench, or pliers. The correct tool ensures a proper and secure fit without damaging the hardware.
What should I do if my toilet seat keeps loosening despite tightening it?
If your toilet seat continues to loosen, it may indicate underlying issues such as worn-out fasteners or improper installation. In such cases, it’s best to inspect the seat thoroughly and consider replacing any damaged parts or seeking professional assistance if needed.
Are there any preventive measures to keep my toilet seat from loosening?
Yes, you can take a few preventive measures to maintain the stability of your toilet seat. Avoid slamming the seat shut, as this can loosen the fasteners over time. Additionally, periodically checking the tightness of the seat and addressing any issues promptly can help prevent future loosening.

