What is the Difference between Bathtub Reglazing and Refinishing?
When it comes to tub restoration, there is often confusion between the terms “reglazing” and “refinishing.” Both processes aim to revive the appearance of a bathtub, but they differ in terms of the techniques and materials used. Understanding the difference between reglazing and refinishing is crucial when deciding which method is best suited for your tub repair needs.
Reglazing

Reglazing, also known as resurfacing or recoating, involves the application of a new coating to the existing bathtub surface. This process covers any stains, chips, or cracks and gives the tub a fresh, glossy finish. The reglazing process typically consists of several steps:
- First, the tub is thoroughly cleaned to remove any dirt, grime, or soap scum.
- Next, any necessary repairs, such as fixing chips or cracks, are performed.
- The tub is then sanded to create a smooth surface for the new coating to adhere to.
- After sanding, a primer is applied to enhance the adhesion of the coating.
- Finally, multiple layers of a specialized bathtub coating are carefully applied to achieve a durable and long-lasting finish.
Refinishing
Refinishing, also known as re-enameling or re-porcelainizing, involves the removal of the old finish from the bathtub surface before applying a new one. This process is more extensive and time-consuming compared to reglazing.
The steps involved in refinishing a bathtub may include:
- The old finish or coating is stripped off using chemical solvents or mechanical methods.
- Any necessary repairs are performed, similar to the reglazing process.
- A primer is applied to enhance the adhesion of the new finish.
- Multiple layers of a specialized bathtub enamel or paint are carefully applied.
- The refinished tub is then cured or baked to ensure a durable and long-lasting finish.
Refinishing offers similar benefits to reglazing, such as cost-effectiveness and the ability to choose from various color options. However, refinishing may be a more suitable option for tubs with severe damage or excessive wear and tear.
| Reglazing | Refinishing |
|---|---|
| Applies a new coating to the existing tub surface | Removes the old finish before applying a new one |
| Covers stains, chips, and cracks | Repairs damage and restores the tub’s appearance |
| Less time-consuming and cost-effective | More extensive and time-consuming |
| Can extend the lifespan of the tub | Suitable for severely damaged tubs |
When You Have to Reglaze the Bathtub?
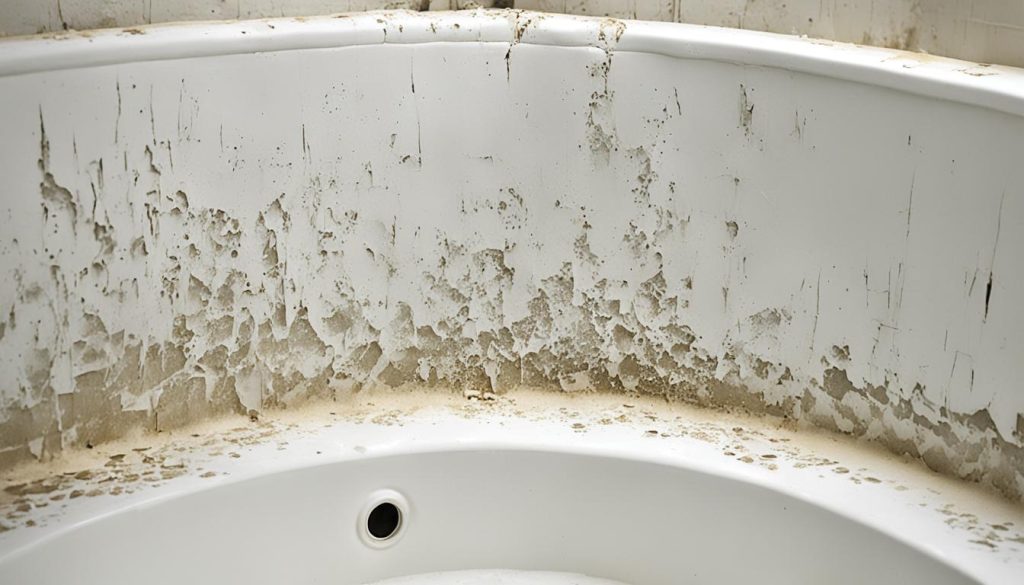
There are several instances when reglazing a bathtub becomes necessary. Knowing the signs that indicate it’s time to reglaze a tub is crucial for maintaining a beautiful and functional bathroom. Some of the common signs include:
- Deep stains: Over time, bathtubs can develop stubborn stains that are difficult to remove. Reglazing can help restore the tub’s original shine and eliminate unsightly stains.
- Rust: If your bathtub has started to develop rust, it’s a clear indication that the surface is compromised. Reglazing can address the rust issue and prevent any further damage.
- Cracks: Cracks in a bathtub can not only be visually unappealing but also pose a risk of leaks. Reglazing can seal the cracks and reinforce the tub’s structure.
- Peeling refinish coating: If your tub has been previously refinished and the coating is peeling or chipping, reglazing can provide a fresh and durable surface.
In addition to these signs, there are situations where reglazing is a better option compared to tub replacement. For instance, if you have an antique or valuable tub that you want to preserve, reglazing can retain its original charm while improving its overall appearance. Reglazing is also a preferable choice when dealing with large or immobile tubs that would be difficult to replace.

| Signs to Look Out For | Possible Cause | Recommended Action |
|---|---|---|
| Deep stains | Mineral deposits or accumulated grime | Reglazing the tub to remove stains |
| Rust | Exposure to moisture and metal corrosion | Reglazing to prevent further rusting |
| Cracks | Age, impact, or structural issues | Reglazing to seal cracks and reinforce the tub |
| Peeling refinish coating | Worn-out or poorly applied coating | Reglazing for a fresh and durable surface |
Overall Cost
The cost of reglazing a tub can vary depending on several factors. These factors include the size of the tub, the condition of the surface, and whether you choose to hire a professional or tackle the project as a DIY. It’s essential to consider these factors to determine the most cost-effective option for your tub reglazing needs.
When it comes to the cost of reglazing a tub professionally, you can expect to pay an average of $300 to $600. This cost includes the labor, materials, and expertise provided by the professionals.
On the other hand, if you decide to take on the reglazing project as a DIY, you can significantly reduce the cost. The average cost for a DIY tub reglazing kit is around $50 to $100. However, it’s important to note that you’ll need to purchase the necessary tools and supplies, which can add to the overall cost.
When comparing the cost of hiring a professional versus DIY reglazing, it’s crucial to consider your skill level and the complexity of the task. Hiring a professional ensures a high-quality finish and minimizes the risk of mistakes. However, if you have the necessary skills and are confident in your abilities, DIY reglazing can be a more cost-effective option.
What You’ll Need
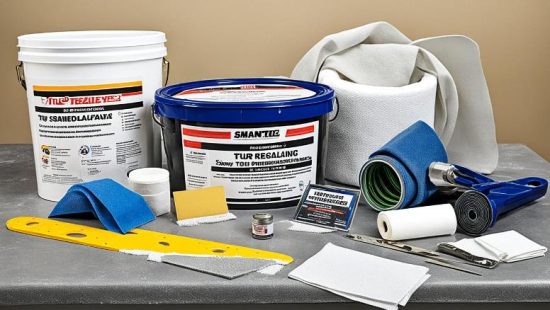
Reglazing a tub requires specific supplies and tools to ensure a successful outcome. Here is a detailed list of the materials you’ll need for the reglazing process:
| Materials | Description |
|---|---|
| Epoxy Coatings | A durable and waterproof coating that will give your tub a fresh and glossy finish. |
| Cleaning Solutions | Effective cleaners that will remove dirt, grease, and stains from the tub surface. |
| Sandpaper | Various grits of sandpaper to help smooth out the tub surface and promote adhesion. |
| Brushes | High-quality brushes for applying the coatings evenly and smoothly. |
| Safety Equipment | Protective gear such as goggles, gloves, and a respirator to ensure your safety during the reglazing process. |
Before starting the reglazing process, it’s important to prepare the tub properly. This involves thorough cleaning to remove any dirt, grime, or soap residue. Additionally, ensure proper ventilation in the area by opening windows or using fans to reduce fumes and aid in drying.
Instructions to Reglaze the Tub
Reglazing a tub requires meticulous preparation and execution to achieve a professional finish. Follow these step-by-step instructions to successfully reglaze your tub and give it a fresh new look.
Stop the Water Supply
Before starting the reglazing process, ensure that you turn off the water supply to the tub. This will prevent any unwanted water flow during the project and allow the tub to dry completely. Additionally, remove any hardware such as faucets, handles, and drain covers to facilitate thorough cleaning and reglazing. It’s also a good idea to protect surrounding areas with drop cloths or plastic sheeting to avoid any accidental splashes or spills.
Remove Hardwares
Deep Clean the Tub

To achieve a professional finish, it’s crucial to thoroughly clean the tub surface. Use a mild cleaning solution and a non-abrasive sponge or cloth to remove any dirt, grime, or soap residue. Pay special attention to corners and edges where buildup may occur. Rinse the tub thoroughly with clean water and allow it to dry completely before proceeding. For optimal results, consider using a degreaser to remove any stubborn stains or residues that regular cleaning may not address.
Mask off Floors and Walls
To ensure a professional-looking finish, protect the surrounding areas by masking off the floors and walls adjacent to the tub. Use painter’s tape to secure plastic sheets or drop cloths, covering areas you don’t want to accidentally coat during the reglazing process. Take care to seal the edges of the tape to prevent any seepage. Additionally, consider removing any fixtures or accessories that cannot be adequately covered to avoid unintentional coating.
Sand the Tub Surface
Gently sand the tub surface using fine-grit sandpaper to create a roughened texture, ensuring the new coating adheres properly. Work in a circular motion to avoid uneven areas. After sanding, thoroughly clean the tub to remove any dust or debris, as these can affect the finish of the reglazing process. Consider using a vacuum cleaner with a brush attachment for this purpose.
Prime the Surface
Apply a high-quality primer designed specifically for tub reglazing, following the manufacturer’s instructions for proper application. Use a brush or roller to achieve an even coverage over the entire tub surface. Allow the primer to dry completely before proceeding, typically for several hours or as recommended by the manufacturer. Avoid applying too thick a coat, as this can lead to drips and uneven drying.
Apply Coating
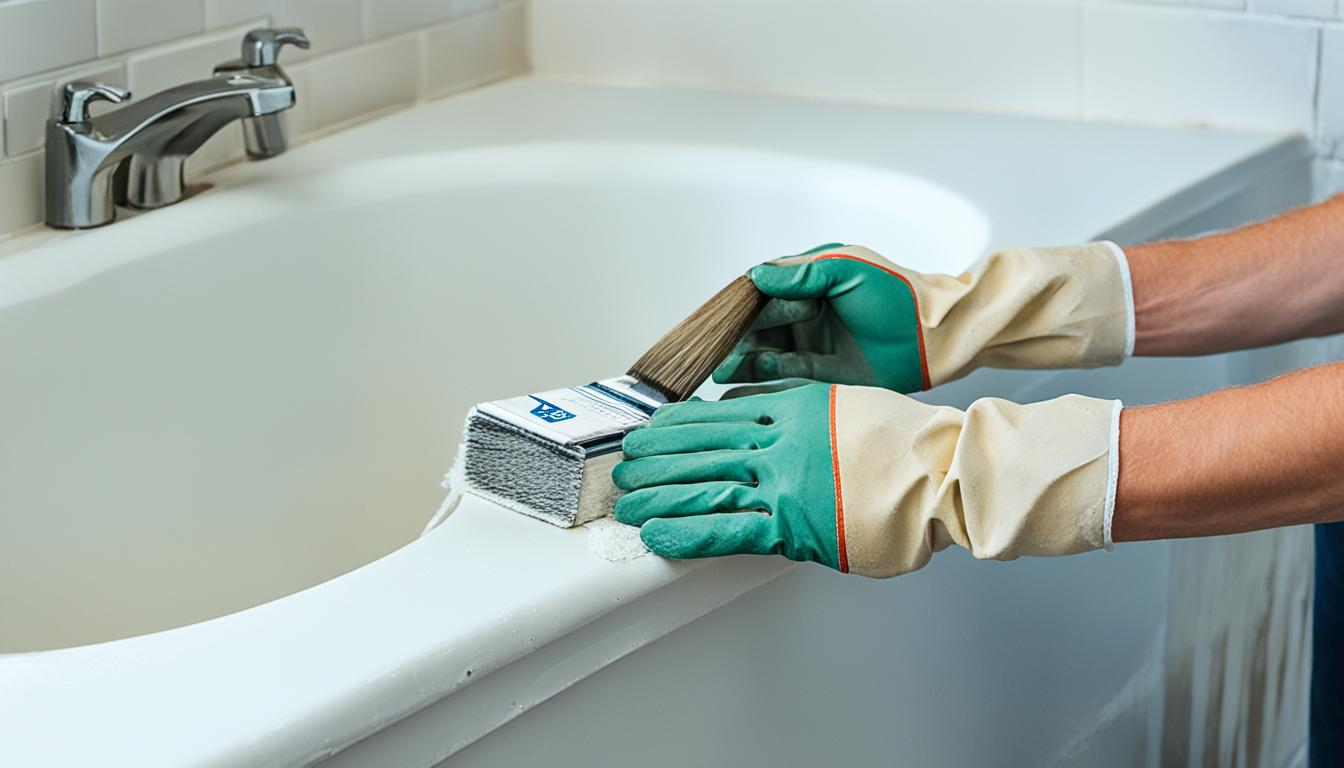
To achieve a professional finish, apply the reglazing coating using a high-quality brush or roller. Start from the top and work your way down, ensuring a smooth and consistent application. Apply multiple thin coats as recommended by the manufacturer, allowing sufficient drying time between each coat. Avoid overloading the brush or roller to prevent drips and uneven coverage, and maintain a consistent application speed to ensure uniformity.
Reinstall The Hardwares
Once the coating has dried completely, reinstall the hardware components that were previously removed. Take care to tighten them securely but avoid over-tightening, as it may damage the new coating. Test the functionality of the hardware to ensure everything is working properly.
By following these instructions, you can successfully reglaze your tub and enjoy a refreshed bathroom centerpiece. Remember to prioritize safety by wearing suitable protective equipment and working in a well-ventilated area.
FAQs How to reglaze a tub
Is reglazing a bathtub a good idea?
Yes, reglazing a bathtub is a cost-effective way to revitalize your bathroom without the need for a full remodel. It can cover up stains, chips, or cracks in the tub surface, giving it a fresh and updated look. However, it is important to properly maintain and care for the reglazed tub to ensure its longevity.
Is it cheaper to reglaze or replace a tub?
Reglazing a tub is generally more cost-effective than replacing it. The cost of reglazing is typically a fraction of the cost of buying and installing a new tub. However, the exact cost difference depends on factors such as the size of the tub, the condition of the surface, and whether the reglazing is done professionally or as a DIY project.
How to reglaze a tub using vinegar?
It is generally not recommended to use vinegar or any acidic cleaners on a reglazed tub. Acids can wear away the reglazed coating and cause it to peel or deteriorate over time. Instead, use mild, non-abrasive cleaners specifically designed for reglazed surfaces to maintain the tub’s appearance and longevity.
How to reglaze a tub and tile?
To reglaze a tub and tile, start by thoroughly cleaning the surfaces with a mild cleaner and removing any hardware. Next, use a high-quality primer designed for both tubs and tiles to ensure proper adhesion. Then, apply the reglazing coating in thin, even coats, allowing each layer to dry completely before applying the next.

