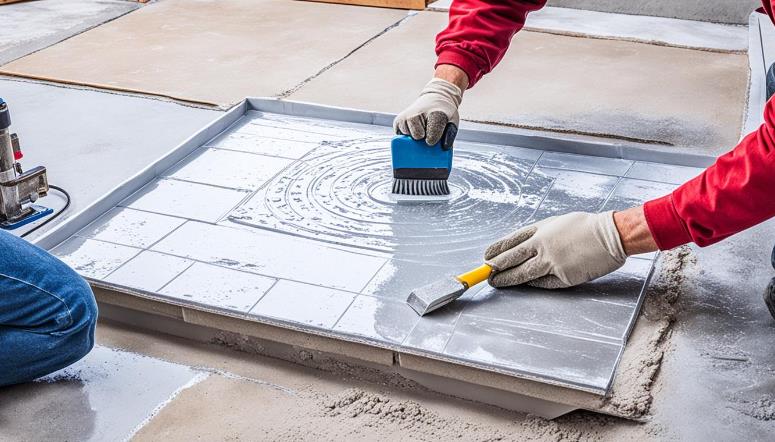
Ready to upgrade your bathroom with a new shower pan? Installing one is crucial for a modern, functional space. But do you know how to install shower pan correctly? In this step-by-step approach, we’ll show you how, from prep to finish. Get ready to transform your bathroom with a successful shower pan installation!
What is Shower Pan and its Benefits?
A shower pan is a waterproof barrier that ensures water from your shower flows into the drain without leaking into the surrounding areas. It serves as the base for your shower, providing a sturdy and watertight foundation.
Benefits of installing a shower pan:
- Waterproofing: Prevents water damage to your floors and walls by directing water to the drain.
- Easy Maintenance: Simplifies cleaning by containing water and preventing seepage into the subfloor.
- Durability: Provides a long-lasting base for your shower, supporting daily use.
- Design Flexibility: Allows you to customize your shower with various tile or wall options above the pan.
- Prevents Mold and Mildew: Proper installation inhibits the growth of mold and mildew, promoting a healthier environment.
- Increases Home Value: A well-installed shower pan adds to the overall value and appeal of your home.
Preparing for Your Shower Pan Installation
Before you begin the installation process, it is essential to properly prepare for your shower pan installation. By following these steps, you can ensure a smooth and successful installation that will stand the test of time.
Gathering Tools and Materials
The first step in the preparation process is to gather all the necessary tools and materials for your shower pan installation. Having everything you need on hand will make the installation process more efficient and prevent delays. Here are some essential tools and materials you will need:
- Shower pan
- Shower pan liner
- Thinset mortar
- Waterproofing membrane
- Trowel
- Measuring tape
- Level
- Caulk gun
- Screws
- Drain assembly
Make sure you have all the tools and materials listed above before you start the installation process. This will help you avoid any unnecessary delays or interruptions during the installation.
Measuring the Installation Area
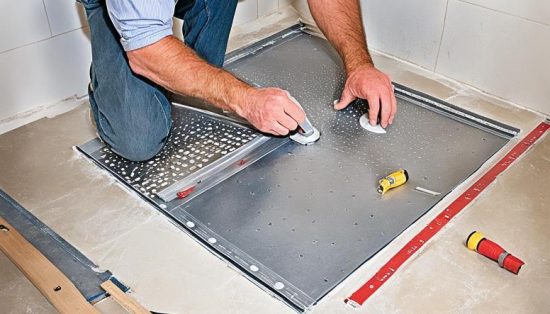
Before you begin installing your shower pan, it is crucial to measure the installation area to ensure a perfect fit. Proper measurements will help you choose the right-sized shower pan and ensure that it fits securely in your bathroom.
Use a measuring tape to measure the length, width, and depth of the installation area. Take precise measurements to avoid any gaps or uneven spaces. Once you have the measurements, compare them to the dimensions of the shower pan you have chosen to ensure a proper fit.
Clearing and Cleaning the Workspace
Prior to installing your shower pan, it is essential to clear and clean the workspace to create a suitable environment for the installation. A clean workspace will help you work more efficiently and ensure a secure installation.
Remove any existing shower fixtures, debris, or obstructions from the area where the shower pan will be installed. Clearing the workspace will provide you with a clean, flat surface to work on and prevent any obstacles from interfering with the installation process.
After clearing the workspace, thoroughly clean the area to remove any dust, dirt, or residue that could affect the adhesion of the shower pan. Use a mild detergent or cleaner to clean the floor, and make sure it is dry before proceeding with the installation.
Dry Fitting the Shower Pan
Before securing the shower pan in place, it is essential to perform a dry fitting to ensure a proper fit. Dry fitting involves placing the shower pan in its designated position without any adhesives or fasteners. This step allows you to check the alignment and fit of the shower pan before proceeding with the installation process.
To dry fit the shower pan:
- Ensure that the subfloor is clean and free from any debris that may affect the placement of the shower pan.
- Gently lower the shower pan into position on the subfloor. Be careful not to damage any surrounding walls or plumbing fixtures.
- Check the alignment of the shower pan with the surrounding walls and the drain opening. It should be centered and level.
- Verify that the shower pan fits snugly against the walls and there are no noticeable gaps or uneven areas.
- Step into the shower pan and apply slight pressure to test its stability. It should feel secure and not wobble or shift.
Leveling the Subfloor
A level subfloor is crucial for a sturdy and stable shower pan installation. Before proceeding with the installation, it is essential to assess the current condition of the subfloor and address any unevenness or imperfections. Follow these steps to ensure a flat and even surface for your shower pan:
Assessing the Current Condition
Start by thoroughly inspecting the subfloor for any signs of damage or unevenness. Look for areas that are sagging, cracked, or uneven. Use a straightedge or level to identify any high or low spots. Pay close attention to areas near walls, corners, and floor joists, as these are common trouble spots.
If you come across damaged or weakened subfloor sections, it’s important to repair or replace them before leveling. Neglecting these issues can compromise the integrity of the shower pan installation in the long run. Consult with a professional if you are unsure about the extent of the damage or the necessary repairs.
Utilizing Self-Leveling Compounds
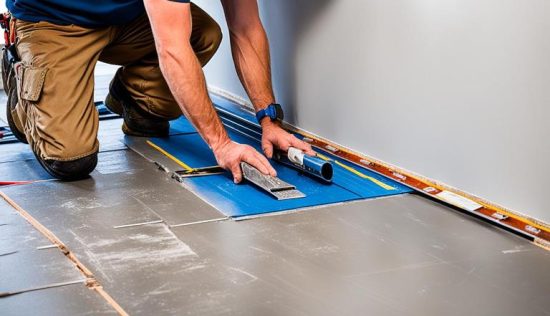
If there are significant variations in the subfloor’s level, you may need to use self-leveling compounds to create a smooth and even surface. Self-leveling compounds are specially formulated materials that automatically spread to fill in low spots and create a level surface.
Follow the manufacturer’s instructions for the specific self-leveling compound you choose. Typically, the process involves mixing the compound with water to achieve the desired consistency and pouring it over the subfloor. Use a trowel or squeegee to spread the compound evenly, ensuring it reaches all the low areas.
Allow the compound to dry and cure according to the manufacturer’s recommended drying time. Once dry, the self-leveling compound will create a level surface, ready for the installation of your shower pan.
Installing the Shower Drain Flange
Now that you have properly leveled the subfloor and dry fitted the shower pan, it’s time to move on to the next crucial steps in the installation process: attaching the shower drain flange to the shower pan. The shower drain flange is responsible for proper drainage and preventing leaks, so it’s essential to ensure it is correctly installed.
To install the shower drain flange, follow these steps:
- Apply a bead of silicone caulk around the rim of the drain hole in the shower pan. This will create a watertight seal and prevent any potential leaks.
- Place the shower drain flange over the silicone caulk, making sure it aligns with the drain hole. Apply gentle pressure to ensure adhesion.
- If your shower pan has attachment screws for the drain flange, insert them through the designated holes in the flange and tighten them using a screwdriver. This will securely fasten the flange to the shower pan.
- Use a level to ensure that the drain flange is sitting flat and level. Adjust the position if necessary.
- Wipe away any excess caulk around the edges of the drain flange to create a tidy and clean finish.
Once you have completed these steps, the shower drain flange should be securely and properly attached to the shower pan. This is a critical component of the overall installation process, as it ensures proper drainage and prevents leaks from occurring.
Securing the Shower Pan Base
Once the shower pan base is in position, it’s essential to secure it firmly to the subfloor for a stable and long-lasting installation. There are various methods you can use to secure the shower pan base, such as adhesive or mortar.
Let’s explore these options in detail:
Using Adhesive
One common method for securing the shower pan base is using adhesive. This involves applying a strong adhesive to the bottom of the shower pan and pressing it firmly onto the subfloor.
Before applying the adhesive, ensure that the subfloor is clean and free from debris. Follow the adhesive manufacturer’s instructions for the proper application, as different adhesives may have specific requirements.
Once the adhesive is applied, carefully lower the shower pan onto the subfloor, ensuring it is properly aligned with the drain opening and any marked guidelines. Apply even pressure to the base, ensuring it adheres securely to the subfloor.
Using Mortar
Another method for securing the shower pan base is using mortar. Mortar provides a strong and durable bond between the base and the subfloor.
Start by mixing the mortar according to the manufacturer’s instructions, ensuring the right consistency. Using a trowel, spread the mortar evenly on the subfloor, making sure to cover the entire area where the shower pan will be placed.
Carefully position the shower pan onto the mortar bed, pressing it down evenly to create a secure bond. Check for levelness using a level and adjust as necessary.
Allow the mortar to dry and cure completely before moving forward with the next steps of your shower pan installation.
By securely fastening the shower pan base to the subfloor using adhesive or mortar, you can ensure a stable foundation for your shower. This step is crucial for preventing movement, leaks, and potential damage to the overall installation.
Attaching Gasket and Drain Screen
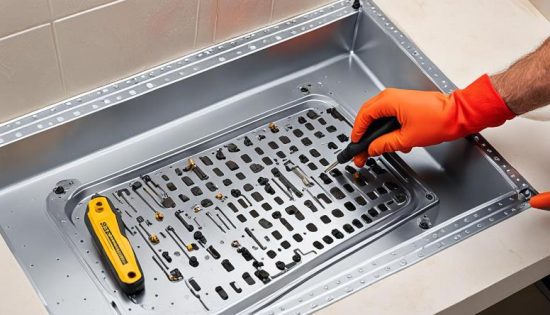
Once you have installed the shower drain flange, the next step is to attach the gasket and drain screen. These components play a crucial role in sealing the drain and preventing any leaks or water damage. Follow these steps to ensure a successful shower pan assembly:
- Place the gasket over the drain flange, ensuring it sits securely.
- Insert the drain screen into the gasket, aligning it properly.
- Apply a small amount of plumber’s putty or silicone sealant around the drain flange to create a watertight seal.
- Gently press down on the drain screen to secure it in place.
By attaching the gasket and drain screen correctly, you will effectively seal the drain components and ensure proper drainage in your shower pan assembly. This step is crucial for preventing any leaks or water damage, providing a reliable and functional shower.
Ensuring a Waterproof Seal
Properly sealing the edges of your shower pan is essential to create a waterproof barrier and prevent water leaks. One of the most effective methods for achieving a waterproof seal is to use caulk. Caulking provides a flexible and durable seal that can withstand the constant exposure to water and moisture in the shower area.
To start, ensure that the shower pan edges are clean and dry. Remove any existing caulk or debris using a scraper or a caulk remover tool. This will ensure a clean surface for the new caulk to adhere to.
Next, apply a bead of caulk along the edges of the shower pan where it meets the walls and other surfaces. Use a caulk gun for precise application and smooth the caulk bead with a caulk smoothing tool or a wet finger to create an even seal.
It’s important to choose a high-quality, waterproof caulk specifically designed for bathroom applications. Look for a caulk that is labeled as “shower-ready” or “waterproof” to ensure long-lasting protection against leaks.
Allow the caulk to dry and cure according to the manufacturer’s instructions before using the shower. This will ensure that the caulk fully sets and provides an effective seal.
Regularly inspect the caulked edges of your shower pan for any signs of deterioration or damage. If you notice any cracks, gaps, or missing caulk, promptly reapply caulk to maintain the waterproof seal and prevent potential water damage.
Testing for Functionality and Leaks
After completing the installation process, it is crucial to test the functionality and check for any potential leaks in your shower pan. This step ensures that your shower pan is ready for use and will provide a reliable and watertight seal.
Here’s how you can test your shower pan:
- Close the shower drain and fill the shower pan with water until it reaches about an inch below the top of the curb.
- Allow the water to sit for at least 24 hours to thoroughly test the shower pan’s functionality and leak-proof nature.
- During this time, regularly inspect the area around the shower pan for any signs of water leakage, such as dampness or pooling water.
- If you notice any leaks, it is essential to identify the source and address the issue promptly. Common areas where leaks may occur include the drain pipe connections, corners of the shower pan, or improper sealing.
- If there are no signs of leakage, drain the water from the shower pan and proceed with the final steps of your shower pan installation.
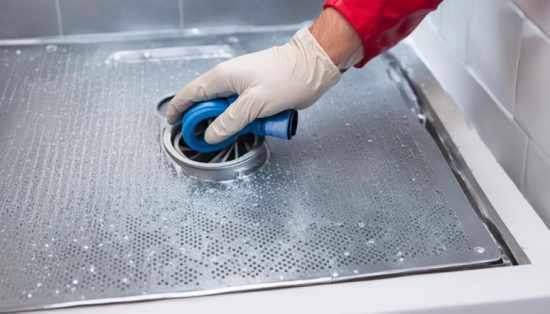
How to Install Shower Pan on the Prepped Surface?
Maintenance Tips for Your New Shower Pan
To ensure the longevity and durability of your new shower pan, proper maintenance is essential. By following these simple tips and practicing regular care, you can keep your shower pan in excellent condition for years to come.
First and foremost, routine cleaning is crucial to maintain the cleanliness and appearance of your shower pan. Use a mild, non-abrasive cleaner and a soft cloth or sponge to wipe down the surface, removing any soap scum, residue, or dirt. Avoid using harsh chemicals or abrasive materials that can damage the pan’s finish. Regular cleaning will not only keep your shower pan looking fresh but also prevent the buildup of grime and mold.
In addition to cleaning, it’s important to avoid potential damage to your shower pan. Be cautious when placing heavy objects or sharp items directly on the pan, as they can cause scratches or cracks. Use a shower mat or non-slip stickers to prevent slipping and protect the pan’s surface.
If you notice any maintenance issues, such as cracks, leaks, or loose fittings, address them promptly. Consult a professional if necessary to ensure proper repairs and prevent further damage. Taking care of maintenance issues early on will extend the lifespan of your shower pan and avoid costly repairs down the line.
FAQs on Fixing Shower Pan
Do you need to put anything under a shower pan?
Yes, it is recommended to have a stable and level base for the shower pan. This can be achieved by using mortar or adhesive to secure the pan to the subfloor. Additionally, installing a waterproof membrane or pan liner underneath the shower pan helps prevent leaks and water damage.
Can you install a shower pan without mortar?
Yes, there are alternatives to using mortar to install a shower pan. Some shower pan models are designed to be installed using adhesive instead of mortar. These adhesive-based installation methods can save time and effort, providing a secure and stable base for the shower floor.
How should a shower tray be installed?
A shower tray, also known as a shower pan, should be installed by first preparing the subfloor and ensuring it is level. The shower tray is then placed on the subfloor and secured in place using mortar or adhesive. The drain flange is attached, and the edges of the shower tray are sealed with caulk to create a waterproof seal.

