Are you considering how to install hardwood floors in your home? Not only do they enhance the allure and value of your space, but they also offer a gratifying DIY idea project. If the idea seems overwhelming, don’t worry—we’re here to help!
This detailed roadmap will walk you through every step of the process, from choosing the perfect hardwood to ensuring safety and utilizing the right tools. By the end, you’ll have the confidence and knowledge to transform your space with the timeless elegance of hardwood floors.
Begin your journey toward a stunning home transformation today!
Why Hardwood Flooring is Better than Other Types?
When it comes to flooring options, hardwood flooring stands out as a superior choice with numerous advantages over other types. Its timeless and elegant look adds a touch of beauty to any space, instantly enhancing the aesthetic appeal of your home. The natural warmth and rich tones of hardwood create a cozy and inviting atmosphere that cannot be matched by other flooring materials.
One of the biggest benefits of hardwood floors is their durability and longevity. With proper maintenance, hardwood flooring can last for decades, standing the test of time and heavy foot traffic. Strong and resilient, hardwood floors can withstand daily wear and tear, making them a sound investment for your home.
Hardwood flooring also offers a hygienic advantage over carpets. Unlike carpets, hardwood floors do not trap dust, allergens, or pet dander, making them an excellent choice for those with allergies or respiratory concerns. Cleaning hardwood floors is a breeze, as they can be easily swept or vacuumed, and spills can be wiped away without leaving a stain.
Another remarkable feature of hardwood flooring is its versatility. Hardwood can be refinished multiple times, allowing you to change the look of your floors without the need to replace them entirely. You can simply sand down the surface, apply a new finish, or even stain the wood in a different shade to suit your evolving style and preferences.
Overall, hardwood flooring offers a winning combination of beauty, durability, and value that surpasses other types of flooring. Its long-lasting nature, easy maintenance, and timeless appeal make it a preferred choice for homeowners who seek a flooring option that will stand the test of time. Choose hardwood floors and enjoy the numerous benefits they bring to your space.
Selecting the Best Hardwood
When choosing hardwood flooring for your home, there are several key factors to consider. By carefully evaluating your options, you can ensure that you select the best hardwood for your needs and preferences.
Types of Wood
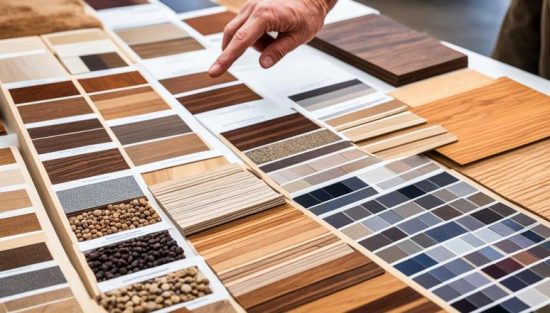
One of the first decisions you’ll need to make is the type of wood you want for your hardwood floors. Popular options include oak, walnut, cherry, and maple. Each type has its own unique characteristics, such as color and grain pattern, so consider your personal preferences when making this choice. Oak, in particular, is frequently chosen for its durability and widespread availability. It is also consider as a floor decoration for the fresh look.
Finish
Another important consideration is the finish of the hardwood. You can choose between a natural oil finish or a polyurethane finish. A natural oil finish provides a more traditional and matte appearance, while a polyurethane finish offers greater durability and easier maintenance, as it creates a protective layer on top of the wood. Consider your lifestyle and the level of maintenance you’re willing to commit to when deciding which finish is best for you.
Plank Width
The width of the hardwood planks is also an aesthetic consideration. Narrow planks (around 2-3 inches) can create a more traditional and classic look, while wider planks (over 3 inches) can lend a more contemporary and spacious feel to a room. Take into account the overall style and ambiance you want to achieve in your space when selecting the width of your hardwood planks.
| Type of Wood | Pros | Cons |
|---|---|---|
| Oak | Durable, widely available | Can have visible knots and imperfections |
| Walnut | Rich and dark color, resistant to warping | More expensive, softer wood |
| Cherry | Beautiful color that deepens over time | Prone to scratches and dents |
| Maple | Dense and durable, lighter color | Less variation in grain pattern |

By considering these factors, you can confidently choose the best hardwood flooring for your home. Whether you prioritize durability, aesthetics, or ease of maintenance, there is a hardwood option that aligns with your needs.
Safety Precautions to Take Before Installing
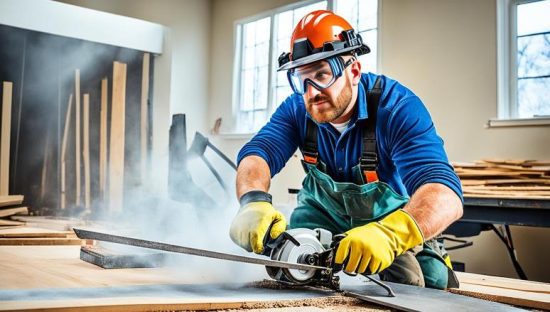
Before starting your hardwood floor installation, it is important to take certain safety precautions. By following these safety guidelines, you can ensure a smooth and accident-free installation process:
-
Ensure Proper Ventilation
- Keep the work area well-ventilated to prevent inhalation of dust or fumes.
- Open windows or use fans to circulate fresh air.
-
Wear Appropriate Protective Gear
- Safety glasses to protect your eyes.
- A dust mask to prevent inhalation of harmful particles.
- Knee pads to protect your joints while working on your knees.
-
Be Cautious in Slippery or Hazardous Conditions
- Use non-slip mats or grip-enhancing footwear for stability.
- Be extra careful when using power tools on slippery surfaces.
-
Handle Sharp Tools and Heavy Materials with Care
- Ensure tools are properly maintained and sharp.
- Use proper lifting techniques when transporting heavy materials.
- Ask for assistance if needed.
Essential Materials and Tools
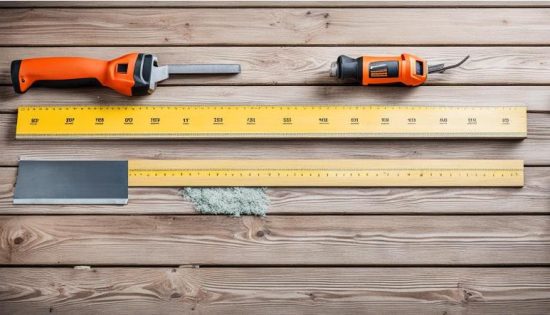
To successfully install hardwood floors, you will need a variety of materials and tools. Here is a list of the essential items you’ll need:
- Hardwood flooring planks
- Underlayment or moisture barrier
- Flooring adhesive or nails
- Transition strips
- Baseboards
Tools:
- Tape measure
- Chalk line
- Circular saw
- Miter saw or coping saw
- Pneumatic flooring nailer or hammer
- Pry bar
- Rubber mallet
- Spacers
- Level
- Safety equipment (safety glasses, dust mask, knee pads)
By ensuring you have all the necessary materials and tools ready, you can proceed smoothly with the installation process. Having the right materials and tools will help you achieve a professional-looking result and make the installation process much easier.
How to Install Hardwood Floors – Step by Step Instructions

When it comes to installing hardwood floors, a systematic approach is essential for a successful outcome. This section provides a step-by-step process to help you achieve a professional-looking hardwood floor installation. Follow these instructions carefully to complete your project with confidence and precision. With the right preparation and attention to detail, you’ll be able to transform your space beautifully. Get ready to make your hardwood floor dreams a reality!
Plan Your Layout and Prepare Your Subfloor
The first step in installing hardwood floors is to plan your layout and prepare the subfloor. Measure the dimensions of the room and determine the best direction for laying the hardwood planks. Remove any existing flooring, clean the subfloor thoroughly, and address any issues such as unevenness or moisture. Install a moisture barrier or underlayment as necessary to protect the hardwood from moisture damage. Taking the time to properly prepare the subfloor will ensure a smooth and stable foundation for your hardwood. Additionally, acclimate the hardwood planks to the room’s temperature and humidity for at least 48 hours before installation.
Install the First Row and Subsequent Rows
Once the subfloor is prepared, it’s time to start installing the hardwood planks. Begin with the first row, ensuring it is straight and aligned with the layout plan. Use a pneumatic flooring nailer or a hammer and nails to secure the planks to the subfloor. Leave a small gap between the planks and the wall for expansion. Continue with subsequent rows, staggering the joints for a more stable and aesthetic result. Use a rubber mallet or scrap piece of wood to gently tap the planks together, ensuring a tight fit.
Fitting the Final Row
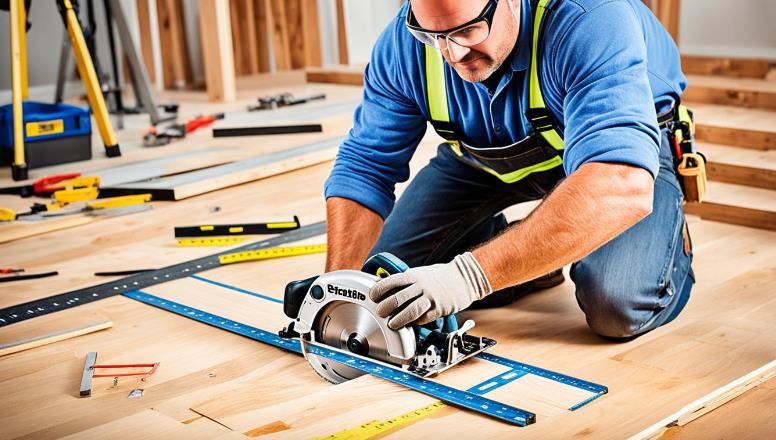
When approaching the final row, you may need to cut the hardwood planks to fit the remaining space. Measure the width needed and use a circular saw or a miter saw to make accurate cuts. Remember to leave a small expansion gap between the final row and the wall. Use a pry bar and a hammer to fit the last row into place, applying gentle pressure to ensure a snug fit. After securing the final row, remove any spacers and install the baseboards or moldings to cover the expansion gap. Finally, clean the floor thoroughly to remove any dust or debris, revealing your beautifully installed hardwood floor.
Installing Transitions and Baseboards

With the hardwood planks in place, it’s time to install transitions and baseboards to add the finishing touches. Install transition strips at doorways or between different types of flooring to provide a seamless transition. Attach baseboards along the walls to cover the expansion gaps and enhance the overall appearance of your hardwood floors. Use a level to ensure straight and even installation, and a pneumatic nailer or hammer and nails to secure them securely.
Add the Thresholds
Lastly, add thresholds to doorways or other areas where your hardwood floors meet another type of flooring. Thresholds not only provide a smooth transition but also help protect the edges of the hardwood. Measure the width needed, cut the threshold to size, and secure it in place using adhesive or screws, depending on the type of threshold. Make sure it is level and flush with the flooring for a polished look.
By following these step-by-step instructions, you will be able to install your hardwood floors with ease and achieve professional results. Remember to take your time, measure accurately, and use the appropriate tools and techniques for each step. With patience and attention to detail, your hardwood floor installation project will be a success.
FAQs on Hardwood Floors
Can I install hardwood floors myself?
Yes, hardwood floor installation can be a DIY project if you have the necessary skills, tools, and patience. However, keep in mind that proper installation requires precision and attention to detail.
What should I put down before installing hardwood floors?
Before installing hardwood floors, it is recommended to put down an underlayment or moisture barrier. This helps to protect the hardwood from moisture and reduces noise.
Do you put anything under hardwood flooring?
Yes, it is advisable to install an underlayment or moisture barrier under hardwood flooring. This helps to reduce the risk of moisture-related damage and provides a smooth and stable surface for the hardwood.
How to install hardwood floors on Stairs?
To install hardwood floors on stairs, start by cutting the planks to fit each stair tread and riser, then secure them with adhesive and finish nails. Ensure each piece is tightly fitted and properly aligned, and finish by adding stair nosing for a polished edge.
How to install hardwood floors over concrete?
To install hardwood floors over concrete, first ensure the concrete is clean, dry, and level, then apply a moisture barrier or underlayment. Next, use a glue-down method with a high-quality adhesive or install a plywood subfloor before nailing down the hardwood planks.

