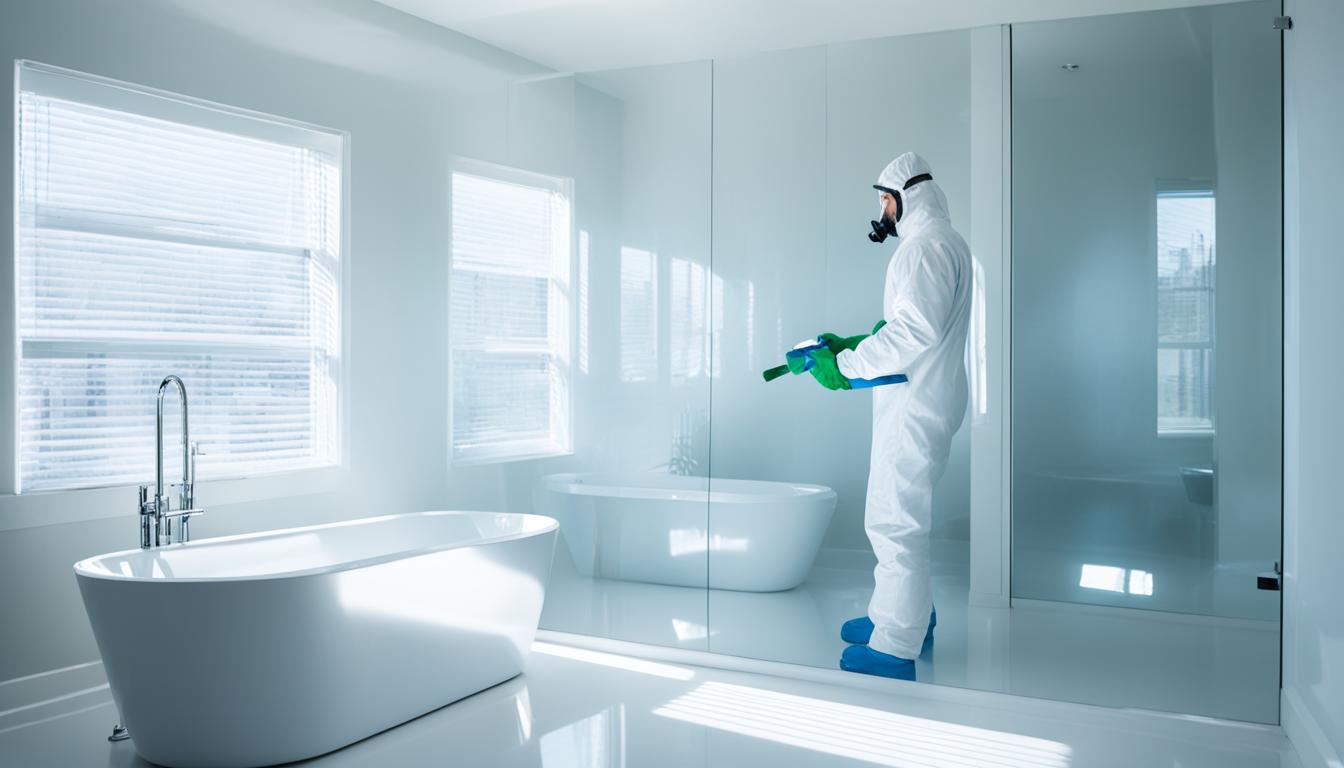
Are you tired of looking at your worn-out bathtub? Do you wish you could give it a fresh, new look without breaking the bank? Well, you’re in luck! Bathtub refinishing is a cost-effective solution that can transform your old bathtub into a like-new condition. But how exactly can you refinish a bathtub? What are the steps involved? And can you do it yourself or should you hire a professional?
We will provide you with all the answers and walk you through the step-by-step process of how to refinish a bathtub. From understanding the benefits of bathtub refinishing to picking the right refinishing kit, we’ve got you covered. Whether you’re a DIY enthusiast or prefer to leave it to the experts, this guide will equip you with invaluable insights and tips to achieve a professional-quality finish. So, get ready to transform your bathtub and maximize its lifespan!
But first, let’s take a closer look at what bathtub refinishing really is and why it’s gaining popularity as a cost-effective alternative to replacement.
Understanding Bathtub Refinishing and Its Benefits
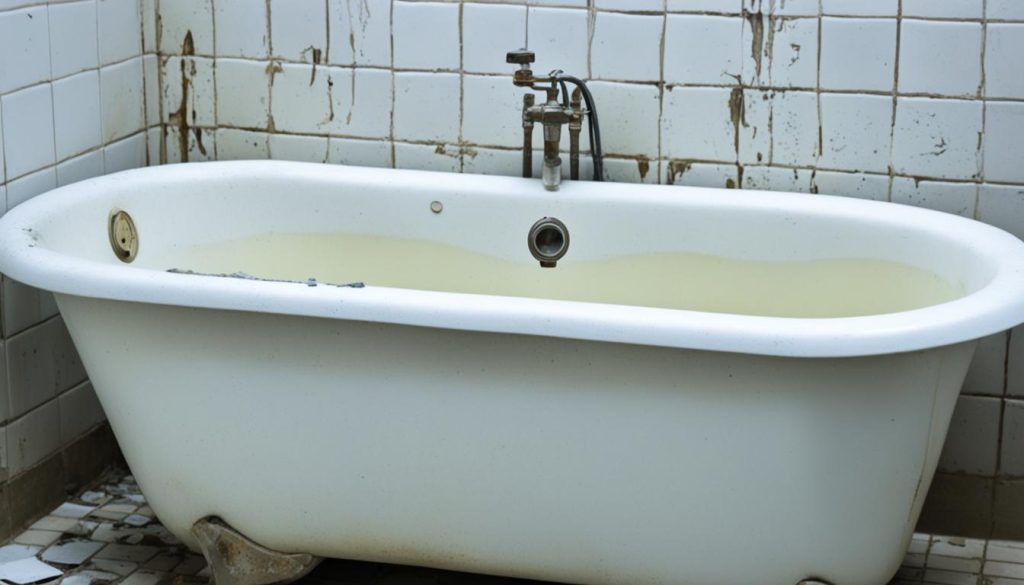
When your bathtub starts to show signs of wear and tear, you may be considering replacement as your only option. However, before you go down that route, it’s important to understand the process of bathtub refinishing and the benefits it offers. Bathtub refinishing, also known as bathtub reglazing or bathtub resurfacing, involves applying a new coating over the existing surface of your bathtub to restore its appearance and functionality.
Unlike bathtub replacement, bathtub refinishing is a more cost-efficient alternative. The cost of bathtub refinishing is significantly lower than the cost of purchasing and installing a new bathtub. This makes it an attractive option for homeowners who want to revitalize their bathtub without breaking the bank.
When Should You Refinish Your Bathtub?
If your bathtub has seen better days, it may be time to consider refinishing. Refinishing your bathtub can give it a fresh, like-new appearance without the cost and hassle of a full replacement. But how do you know when it’s the right time to refinish your bathtub? Here are some signs to look out for:
- A Dingy or Stained Appearance: Over time, bathtubs can become stained or discolored, making them look dingy and unappealing. If your bathtub has stubborn stains that are difficult to remove, refinishing can help restore its original beauty.
- Cracks or Chips: Cracks and chips in your bathtub not only detract from its appearance but can also lead to leaks and further damage if left untreated. Refinishing can repair these issues, making your bathtub look seamless and preventing further damage.
- Outdated Finishes: If your bathtub has an outdated color or finish that no longer matches your bathroom decor, refinishing can give it a modern, updated look. You can choose from a variety of colors and finishes to suit your style.
Assessing the Condition of Your Bathtub
Before you begin the bathtub refinishing process, it is crucial to assess the current condition of your bathtub. Identifying signs of wear and tear will help you determine the extent of damage and the necessary steps to achieve a successful refinishing project.
Identifying Signs of Wear and Tear
Take a close look at your bathtub to spot any visible signs of wear and tear. Common indicators include:
- Chips: Small areas where the enamel or coating has chipped away.
- Cracks: Visible lines or fissures on the surface of the bathtub.
- Stains: Discoloration or stubborn marks that are difficult to remove.
- Peeling Finishes: Layers of the coating that are flaking or peeling off.
By identifying these signs, you can determine the level of damage and understand the specific issues that need to be addressed during the refinishing process.
Understanding the Extent of Damage
Once you’ve identified the signs of wear and tear, it’s important to assess the extent of the damage. This will help you determine whether refinishing is a suitable solution or if additional repairs are needed.
If the damage is limited to minor chips, cracks, or stains, bathtub refinishing can effectively restore the surface and provide a like-new appearance. However, if the damage is more extensive, such as deep cracks or widespread peeling, it may indicate underlying structural issues that require professional attention.
Assessing the extent of damage allows you to make an informed decision on the appropriate steps to take and ensures the refinishing process addresses all necessary repairs, resulting in a beautiful, durable bathtub.
Preparatory Steps Before Refinishing a Bathtub
Gathering Necessary Materials and Tools
Before you begin the bathtub refinishing process, it is essential to gather all the necessary materials and tools. Here is a comprehensive list of items you will need:
- Epoxy resin
- Etching powder
- Gloves
- Brushes
- Safety goggles
- Respirator mask
- Sanding materials
- Tape and drop cloths
- Caulk remover
- Cleaning supplies
- Plastic sheeting
Having all these materials and tools readily available will ensure a smooth and efficient refinishing process.
Ensuring Adequate Ventilation and Safety
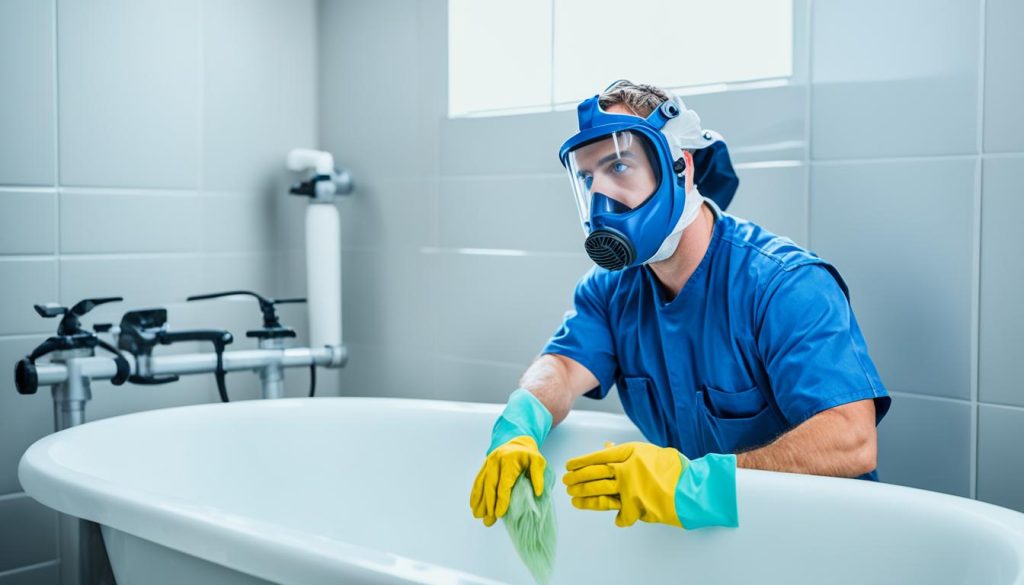
Ventilation and safety are crucial factors to consider when refinishing a bathtub. To protect yourself from harmful fumes and chemicals, it is important to work in a well-ventilated area.
Before starting the refinishing process, open windows and doors to allow fresh air to circulate. You can also use fans or ventilation systems to further improve air circulation. Additionally, wearing a respirator mask, safety goggles, and gloves will provide an extra layer of protection.
Make sure to cover surrounding areas with plastic sheeting to prevent any accidental spills or damage. By prioritizing ventilation and safety, you can create a safe and comfortable environment for your bathtub refinishing project.
Picking the Right Refinishing Kit
When it comes to refinishing your bathtub, choosing the right refinishing kit is crucial. With the wide range of options available in the market, it can be overwhelming to make the right choice. However, by considering a few key factors, you can ensure that you pick the perfect kit for your bathtub refinishing project.
Type of Bathtub Surface
The first factor to consider is the type of bathtub surface you have. Different refinishing kits are designed to work with specific materials such as porcelain, acrylic, or fiberglass. It’s important to choose a kit that is compatible with the surface of your bathtub to ensure proper adhesion and a long-lasting finish.
Desired Finish
Think about the finish you want to achieve for your bathtub. Some refinishing kits offer a glossy finish, while others provide a matte or textured finish. Consider the aesthetics you prefer and choose a kit that can help you achieve the desired look for your bathtub.
Budget
Another important factor to consider is your budget. DIY bathtub refinishing kits are generally more affordable compared to professional bathtub refinishing products and services. If you are on a tight budget and have the time and skill to do it yourself, a DIY kit may be the right choice for you. However, if budget is not a constraint, investing in professional-grade refinishing products can ensure a high-quality and durable finish.
It’s also essential to weigh the pros and cons of DIY bathtub refinishing kits versus professional bathtub refinishing products. DIY kits are more accessible and affordable, but they require careful preparation and application to achieve a satisfactory result. On the other hand, professional refinishing products are typically of higher quality and may offer longer-lasting results, but they come at a higher cost.
How to Refinish a Bathtub?
Refinishing your bathtub is an excellent way to give it a fresh, clean look without the expense of replacing it. In this section, we will guide you through the step-by-step process of refinishing your bathtub to achieve a professional-quality finish.
Surface Cleaning and Repair
The first step in refinishing a bathtub is to clean the surface thoroughly. Start by removing any caulk or adhesive using a caulk removal tool or a putty knife. Next, scrub the tub with a non-abrasive cleaner and a scrub brush to remove any dirt, grime, or soap scum. Rinse the tub thoroughly and allow it to dry completely.
If you notice any chips or dings on the surface of the bathtub, you will need to repair them before proceeding with the refinishing process. Use a bathtub repair kit to fill in any imperfections and allow it to dry according to the manufacturer’s instructions.
Sanding and Etching: Key for Adhesion
Sanding and etching are crucial steps in the refinishing process as they create a rough surface that allows the new coating to adhere properly. Start by sanding the entire bathtub using fine-grit sandpaper. This will help remove any gloss or shine and create a rough texture for the primer to bond with.
After sanding, it’s time to etch the bathtub surface. Use an etching compound or etching powder and follow the manufacturer’s instructions carefully. Etching will further roughen the surface and promote better adhesion of the primer and topcoat.
Applying Primer and Reglazing Procedures
Once the bathtub surface is cleaned, repaired, sanded, and etched, it’s time to apply the primer. Choose a high-quality bathtub primer that is specifically designed for refinishing projects. Apply the primer evenly over the entire surface of the bathtub using a brush or roller, following the manufacturer’s instructions for drying time.
After the primer has dried, it’s time to apply the reglazing coating. This is the final step in the refinishing process and will give your bathtub a fresh, new look. Use a high-quality reglazing product and apply it in thin, even coats. Allow each coat to dry before applying the next one, following the manufacturer’s instructions.
Techniques for a Professional-Quality Finish
Achieving a professional-quality finish is essential in bathtub refinishing to ensure a stunning transformation. By following the right techniques, you can achieve a smooth epoxy coat and prevent common issues like drips and streaks. Here are some valuable tips to help you achieve a flawless finish:
Achieving a Smooth Epoxy Coat
When applying the epoxy coat to your bathtub, it is crucial to use the correct application techniques. Start by applying thin, even coats of the epoxy, ensuring complete coverage. Use long, smooth strokes to minimize brush marks and bubbles. If necessary, sand between coats to remove any imperfections and create a smooth surface for the next coat.
Preventing Drips and Streaks
Drips and streaks can detract from the professional appearance of a refinished bathtub. To prevent them, make sure to remove any excess epoxy from the brush before applying it to the bathtub. This will help avoid drips and uneven application. Additionally, maintain a consistent application technique throughout the process, ensuring that each stroke overlaps the previous one slightly. This will help prevent streaky or uneven patches on the surface of the bathtub.
Post-Refinishing Care for a Lasting Finish
Once you have successfully refinished your bathtub, it’s important to follow proper post-refinishing care to ensure a lasting finish. Taking the right steps in caring for your refinished bathtub will help maintain its durability and appearance over time. This section will guide you through the essential post-refinishing care practices that will extend the lifespan of your refinished bathtub.
Proper Curing Time and Conditions
After the refinishing process, your bathtub needs sufficient time to cure before it can be used. The exact curing time may vary depending on the type of refinishing product used, the temperature, and humidity levels. It is important to check the instructions provided by the manufacturer for the recommended curing time. During the curing process, it’s crucial to avoid using the bathtub, exposing it to excessive moisture, or placing any objects on its surface.
Recommended Cleaning Practices for Refinished Bathtubs
To maintain the appearance and longevity of your refinished bathtub, it’s crucial to follow the recommended cleaning practices. Regular cleaning will help prevent the buildup of dirt, soap scum, and other contaminants that can dull the finish and shorten its lifespan.
When cleaning your refinished bathtub, avoid using abrasive cleaners, harsh chemicals, or abrasive cleaning tools that can scratch or damage the surface. Instead, opt for mild, non-abrasive cleaners and soft cloths or sponges. Gently scrub the bathtub surface using circular motions, paying attention to areas prone to soap scum or grime buildup. Rinse the bathtub thoroughly with clean water and dry it with a soft towel or cloth to prevent water spots.
Distinguishing Between DIY and Professional Bathtub Refinishing
When it comes to bathtub refinishing, you have two options: DIY or professional. Each approach has its own set of advantages and disadvantages that you should consider before making a decision.
DIY bathtub refinishing can be a cost-effective choice for budget-conscious individuals. With a wide range of DIY refinishing kits available, you can easily find one that fits your budget and skill level. DIY refinishing allows you to take control of the process and customize the finish according to your preferences.
However, DIY refinishing does have its downsides. It requires time, effort, and attention to detail. If you’re not experienced in refinishing, there’s a higher risk of mistakes and unsatisfactory results. Additionally, DIY refinishing may not provide the same level of durability and longevity as professional refinishing.
On the other hand, professional bathtub refinishing offers a professional-quality finish and expert craftsmanship. Professionals have the knowledge, skills, and equipment to ensure a flawless refinishing job. They can handle any repairs or extensive damage that your bathtub may have, providing you with a long-lasting and durable finish.
Professional refinishing also saves you time and effort. Instead of spending hours on the refinishing process, you can rely on professionals to complete the job efficiently and effectively. Additionally, professional refinishing often comes with a warranty, giving you peace of mind knowing that any issues will be taken care of.
While professional refinishing offers numerous benefits, it tends to be more expensive than DIY. However, the investment may be worth it if you’re looking for a high-quality finish that will withstand daily use and maintain its appearance for years to come.
Ultimately, the choice between DIY and professional bathtub refinishing depends on your priorities, budget, and level of expertise. Consider the pros and cons of each option and weigh them against your specific needs and resources. Whether you choose DIY or professional refinishing, the key is to achieve a beautifully refinished bathtub that will transform your bathroom and provide years of enjoyment.
The Role of Etching Powder in Bathtub Resurfacing
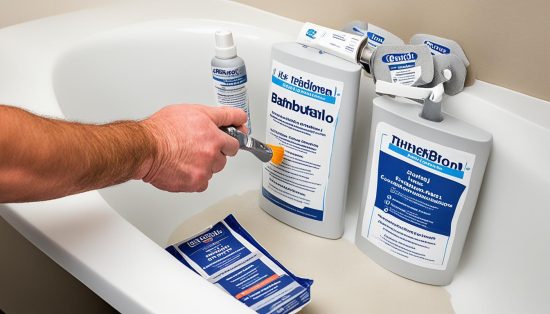
Etching powder plays a crucial role in bathtub resurfacing by enhancing the adherence of the new coating. By using etching powder, you can ensure a long-lasting finish that withstands daily use and maintains its visual appeal over time.
How Etching Enhances Coating Adherence
When refinishing a bathtub, it’s important to create a surface that allows the new coating to bond effectively. This is where etching powder comes in. Etching powder creates a slightly roughened surface on the bathtub’s original finish, improving the adhesion of the new coating. This roughened surface ensures that the coating adheres securely, preventing it from peeling or flaking off prematurely.
Application Techniques for Etching Compounds
Proper application techniques are essential to achieving optimal results with etching compounds. The exact application process may vary depending on the specific product, so it’s important to carefully follow the manufacturer’s instructions. Generally, the process involves applying the etching compound evenly to the bathtub’s surface and allowing it to sit for the recommended amount of time. Then, the bathtub is thoroughly rinsed to remove any residue before proceeding with the next steps of the refinishing process.
Common Mistakes to Avoid in Bathtub Refinishing
When it comes to bathtub refinishing, there are several common mistakes that can derail your project and lead to less than satisfactory results. By understanding these mistakes and knowing how to avoid them, you can ensure a successful refinishing process and achieve a beautiful, long-lasting finish on your bathtub.
Improper Surface Preparation
One of the most critical steps in bathtub refinishing is proper surface preparation. Failing to thoroughly clean and repair the bathtub before applying the new coating can result in poor adhesion and a finish that won’t last. Make sure to remove any old caulk, scrub the tub thoroughly, and address any chips or dings before proceeding with the refinishing process.
Faulty Application Techniques
Another common mistake is using faulty application techniques. Whether it’s applying the primer too thickly, using the wrong type of brush or roller, or rushing through the process, these errors can lead to an uneven finish, drips, streaks, or bubbles on the surface of the bathtub. Take your time, follow the instructions carefully, and use proper application techniques to achieve a professional-looking result.
Inadequate Ventilation
Neglecting proper ventilation during the refinishing process can be problematic. Some refinishing products release strong fumes that can be harmful if inhaled in confined spaces. Ensure you work in a well-ventilated area, open windows, and use fans or wear a mask to protect yourself from harmful fumes.
Not Allowing Sufficient Curing Time
Proper curing time is essential for the durability of the refinished bathtub. Rushing to use the bathtub before the coating has fully cured can lead to premature wear and damage. Follow the manufacturer’s instructions regarding curing time and avoid using the bathtub until it has fully cured to maximize the lifespan of your newly refinished tub.
By avoiding these common mistakes in bathtub refinishing, you can achieve a professional-quality finish that will rejuvenate your bathtub and enhance the overall aesthetics of your bathroom.
Maximizing the Lifespan of Your Refinished Bathtub
After investing time and effort into refinishing your bathtub, it’s important to take steps to maximize its lifespan. By implementing proper maintenance practices, following recommended cleaning tips, and taking necessary precautions, you can extend the durability and longevity of your refinished bathtub.
Maintaining your refinished bathtub is key to preserving its like-new appearance. Avoid using abrasive cleaners or harsh chemicals that can damage the coating. Instead, opt for mild, non-abrasive cleaners and soft cloths or sponges to clean the surface. Regularly clean your bathtub to prevent the buildup of dirt and grime that can dull its shine.
In addition to cleaning, it’s important to prevent any potential damage to the refinished surface. Take care when placing sharp objects or heavy items in the bathtub to avoid scratches or chips. Use a non-slip bath mat to prevent accidental slips, and avoid using bath bombs or abrasive scrubbers that can scratch the surface.
Finally, it’s crucial to be mindful of the curing time and conditions for your refinished bathtub. Allow the coating to fully cure according to the manufacturer’s instructions before using the tub. Avoid using harsh cleaning products or excessive water exposure during the curing process, as this can compromise the finish.
FAQs on Refinish Bathtub
How do I prepare my bathtub for refinishing?
Start by cleaning the tub thoroughly and removing any old caulk or grout, then sand the surface to remove gloss and create a rough texture for better adhesion of the new finish.
What materials do I need to refinish a bathtub?
You’ll need safety equipment like goggles and gloves and refinishing products such as a bathtub refinishing kit, primer, and epoxy paint designed explicitly for bathtubs.
Can I refinish a bathtub myself, or should I hire a professional?
While it’s possible to refinish a bathtub yourself, hiring a professional plumber is recommended for best results. They have the necessary skills and equipment to ensure a durable and long-lasting finish.
How long does bathtub refinishing take?
The process typically takes one to two days, including preparation, application, and drying time, but it may vary depending on the condition of the bathtub and the refinishing products used.

