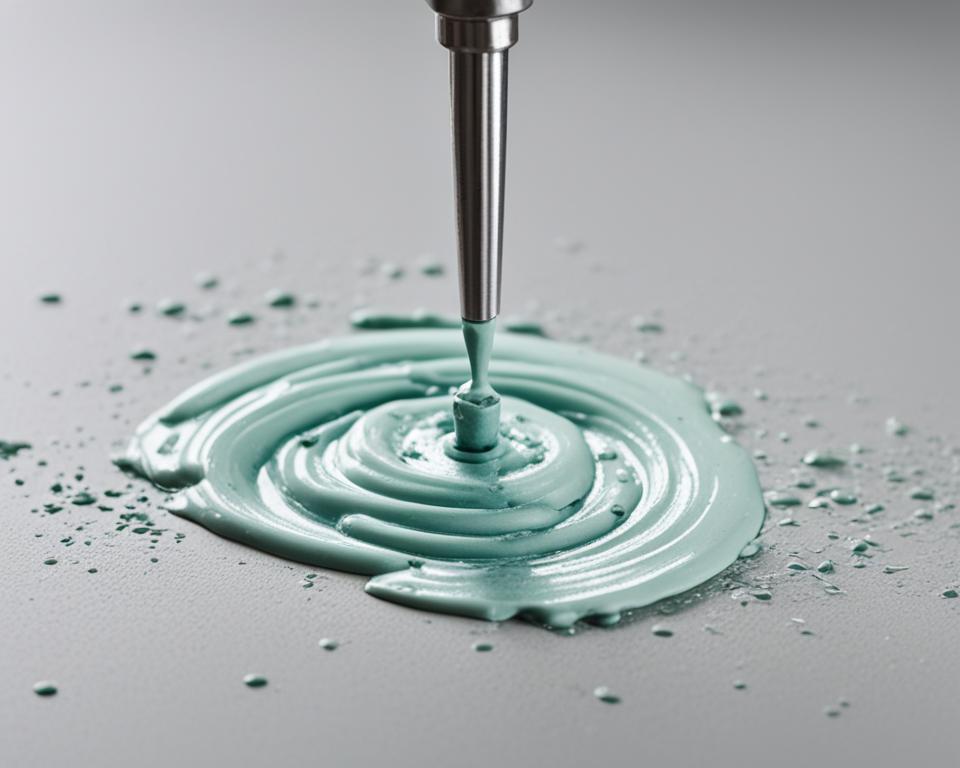
Do you know how long plumbers putty takes to dry? In the world of plumbing, timing is everything. The success of your installation and the prevention of leaks depend on understanding the drying duration of plumbers putty. So, what is the ideal drying time? Can it be sped up? And what are the best practices for achieving a quick dry?
In this comprehensive guide, we will explore the drying duration of plumbers putty, the factors that affect drying time, and provide valuable tips for speeding up the process. Whether you’re a DIY enthusiast or a professional plumber, understanding the nuances of plumbers putty drying is crucial for achieving leak-free fixtures.
Plumber’s putty is a commonly used product in plumbing projects to create a watertight seal. With its dough-like texture, it is easy to work with and provides an effective barrier against leaks. However, it’s important to know how long it takes to dry and cure fully before using it for its intended purpose.
In the following sections, we will delve into the intricacies of plumbers putty drying time, the optimal conditions for drying, and various tips and tricks to expedite the process. By the end of this guide, you’ll have all the knowledge you need to confidently use plumber’s putty and achieve professional results.
Understanding Plumber’s Putty and Its Purpose
Plumber’s putty is a versatile sealing compound used in plumbing applications. It is a malleable, clay-like substance that creates a watertight seal when applied between two rigid surfaces. Plumber’s putty is commonly used for setting faucets, sink basket strainers, shower and pop-up drains. Its main purpose is to prevent water from seeping through gaps and causing leaks.
What is Plumber’s Putty?
Plumber’s putty is a resilient and flexible substance made from a combination of clay, mineral fillers, and oils. Its unique composition allows it to be easily manipulated and shaped to fit various plumbing fixtures. It remains soft and pliable, allowing adjustments even after application. This characteristic makes it an ideal choice for creating a reliable seal without the rigid properties of other sealing materials.
Where Plumber’s Putty is Typically Used?
Plumber’s putty is commonly used in a variety of plumbing installations, including:
- Faucets
- Sink basket strainers
- Showerheads
- Pop-up drains
It provides an effective barrier against water leakage and ensures a secure and lasting connection between different plumbing components. Whether you’re installing a new faucet or repairing a leaky drain, plumber’s putty is a valuable tool.
Why Plumber’s Putty is Essential for Leak-free Fixtures?
Plumber’s putty plays a crucial role in achieving leak-free fixtures. Its unique properties allow it to create a tight and reliable seal that prevents water from seeping through gaps and causing leaks. The malleability of plumber’s putty ensures a customized fit, minimizing the chance for water to escape around the edges of plumbing fixtures.
Without plumber’s putty, even the smallest gaps can result in water leakage, leading to issues such as water damage, mold growth, and increased utility bills. By using plumber’s putty during installation or repairs, you can ensure the longevity and efficiency of your plumbing fixtures.
Plumber’s putty is a reliable and essential tool for any plumbing project. Its versatility, easy application, and watertight seal make it an invaluable asset in preventing leaks and maintaining the integrity of your plumbing fixtures.
How Long Does Plumbers Putty Take to Dry?
The drying time of plumbers putty can vary depending on several factors, including the temperature, humidity, and thickness of the putty layer. Generally, it takes a few hours for plumbers putty to dry completely. However, it is important to note that plumbers putty does not actually dry like traditional adhesives or sealants. Instead, it remains soft and pliable, allowing for easy modifications if needed.
This section will provide detailed information on the drying duration of plumbers putty and offer guidance on how to determine when it is fully cured and ready for use. It’s essential to consider the ideal drying conditions for plumbers putty to ensure the best results. Let’s dive deeper into the plumbers putty drying process and understand how long it takes to set.
The Differences Between Plumber’s Putty and Silicone Sealant
When it comes to plumbing projects, two commonly used products are plumber’s putty and silicone sealant. While they both serve the purpose of creating watertight seals, there are distinct differences between them in terms of adhesion, application, longevity, and maintenance. Understanding these differences is crucial for choosing the right product for specific plumbing tasks and ensuring successful results.
Adhesion and Application: When to Use Each
Plumber’s putty is a soft, clay-like substance that is easier to mold and manipulate compared to silicone sealant. It is commonly used for applications such as setting faucets, sink basket strainers, and pop-up drains. Plumber’s putty provides a reliable seal on surfaces that are not subjected to extreme temperature or pressure.
On the other hand, silicone sealant offers superior adhesion and is better suited for applications where there is a need for durability and resistance to temperature and pressure changes. It is commonly used for sealing joints, seams, and cracks in plumbing fixtures, as well as for bonding materials that require flexibility.
The Longevity and Resistance of Silicone Sealants
While plumber’s putty remains soft and pliable, silicone sealants cure to a rubber-like consistency. This characteristic provides silicone sealants with greater longevity and resistance to water, heat, and chemicals. Silicone sealants also have better resistance to mold and mildew growth, making them especially suitable for areas exposed to moisture.
Cleanup and Maintenance Considerations
When it comes to cleanup and maintenance, plumber’s putty is relatively easier to remove and replace compared to silicone sealant. Plumber’s putty can be easily scraped or wiped off surfaces without leaving residue, allowing for convenient repairs or fixture replacements. Silicone sealant, on the other hand, requires more effort to remove, often requiring the use of solvents or specialized tools.
To ensure the longevity and effectiveness of silicone sealants, regular inspection and maintenance are recommended. This includes checking for signs of deterioration, such as cracks or gaps, and reapplying silicone sealant as needed.
Overall, the choice between plumber’s putty and silicone sealant depends on the specific requirements of your plumbing project. Plumber’s putty is ideal for more basic applications that do not require extreme durability or resistance, while silicone sealant is better suited for situations that demand long-term performance and increased resistance to water, heat, and chemicals.
Practical Application Tips for Plumber’s Putty
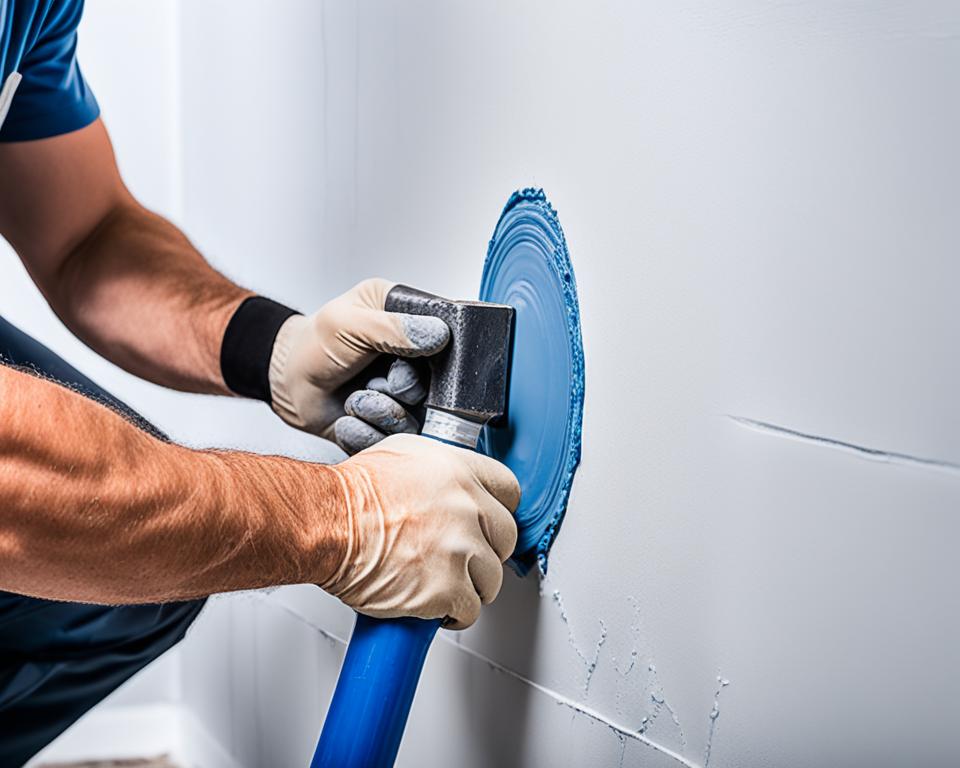
Proper application of plumbers putty is crucial for achieving a watertight seal. Follow these practical application tips to ensure the best results:
Preparing Surfaces Before Application
Before applying plumbers putty, it’s important to prepare the surfaces properly. Start by cleaning the area and removing any old putty or debris. Make sure the surfaces are dry and free of grease or dirt. This will ensure better adhesion and a tighter seal.
How to Mold and Apply Plumber’s Putty?
Take a small amount of plumbers putty and knead it in your hands until it becomes pliable. Roll it into a thin rope and place it along the edge of the fixture or drain. Press the fixture or drain firmly into place, allowing the putty to spread evenly and create a seal. Use your fingers or a putty knife to remove any excess putty.
Recommended Wait Time for Plumber’s Putty in Cold Environments
In cold environments, plumbers putty may take longer to dry and harden. It is recommended to wait at least 24 hours before testing the fixture or drain for leaks. This extended wait time will ensure that the putty has fully cured and is able to withstand water pressure.
By following these practical application tips for plumbers putty, you can ensure a secure and durable seal for your plumbing projects.
How to Know When Not to Use Plumber’s Putty?
While plumber’s putty is a versatile product commonly used in plumbing projects, there are situations where it is not appropriate or effective. It is important to be aware of these scenarios to avoid potential issues and choose alternative solutions when needed.
One situation where you should not use plumber’s putty is on plastic surfaces. Plumber’s putty is designed to create a watertight seal between two rigid surfaces, and it may not adhere properly to plastic materials. In these cases, using a silicone sealant specifically formulated for plastic surfaces would be a better choice.
Additionally, plumber’s putty should not be used in pressurized connections. The soft and pliable nature of the putty may not withstand the pressure, leading to leaks and potential damage. For pressurized connections, it is recommended to use products such as thread seal tape or pipe joint compound that are specifically designed for these applications.
Another scenario where plumber’s putty should not be used is for sealing windows and doors. Plumber’s putty is not suitable for this purpose as it is not designed to provide an airtight seal. Instead, you should opt for weatherstripping or other sealants specifically formulated for windows and doors.
Advantages and Limitations of Plumber’s Putty
Plumber’s putty is a popular choice for achieving watertight seals in plumbing applications. It offers several advantages that make it a preferred option for many professionals and DIY enthusiasts. However, it is essential to be aware of its limitations to ensure optimal use and prevent any issues. Let’s explore the advantages and limitations of plumber’s putty in detail.
The Malleability and Ease of Use of Plumber’s Putty
One of the primary advantages of plumber’s putty is its malleability and ease of use. It has a clay-like consistency that can be easily molded and shaped to fit various plumbing fixtures. This makes it highly versatile, allowing for precise applications and achieving a tight seal in hard-to-reach places. Whether you’re installing a faucet, sink basket strainer, or shower drain, plumber’s putty provides the flexibility and workability required for efficient plumbing projects.
Potential for Staining and Surface Compatibility
While plumber’s putty offers numerous benefits, it also has certain limitations worth considering. One limitation is the potential for staining. Plumbers putty may contain oils or other substances that can cause discoloration or damage to certain surfaces, such as porous materials or certain types of stone. It is essential to test the surface compatibility of plumber’s putty before application and take necessary precautions to prevent staining or surface damage.
To ensure compatibility, it is recommended to check the manufacturer’s guidelines and test plumber’s putty on a small, inconspicuous area before using it on the entire surface. By doing so, you can avoid any potential staining or surface compatibility issues, ensuring a clean and aesthetically pleasing result.
Despite this limitation, plumber’s putty remains a widely used and trusted sealing compound due to its numerous advantages. Its malleability and ease of use make it a go-to choice for achieving watertight seals in various plumbing applications. Just remember to consider the limitations and take necessary precautions to ensure optimal results.
Step-by-Step Guide to Applying Plumber’s Putty
Applying plumber’s putty correctly is crucial for achieving a reliable seal. Follow this step-by-step guide to ensure a successful application and prevent leaks.
Ensuring Proper Sealing for Different Plumbing Fixtures
When applying plumber’s putty to different plumbing fixtures, keep in mind the specific requirements of each fixture. Here’s how you can ensure proper sealing for common plumbing fixtures:
- Faucets: Apply a thin, even layer of plumber’s putty around the base of the faucet. Press the faucet firmly onto the surface, ensuring a tight connection.
- Sink basket strainers: Roll plumber’s putty into a thin rope and wrap it around the underside of the strainer. Insert the strainer into the sink drain and tighten the nut from below to secure it.
- Shower drains: Apply plumber’s putty around the underside of the drain cover. Press the cover firmly onto the drain, making sure it is centered and level.
- Pop-up drains: Roll plumber’s putty into a thin rope and wrap it around the underside of the drain flange. Insert the flange into the sink drain and tighten the nut from below to secure it.
Remember to always refer to the manufacturer’s instructions for specific fixtures, as some may require additional steps or alternate methods of sealing.
Reusing and Storing Plumber’s Putty
Plumber’s putty can be reused if it has not hardened or become contaminated. To reuse plumber’s putty:
- Remove any debris or old putty: Before reusing, make sure to clean the putty thoroughly, removing any debris or old residue.
- Knead the putty: If the putty has become stiff, knead it between your hands to soften it before applying.
- Store properly: To store plumber’s putty, tightly seal it in its original container or wrap it in plastic wrap to prevent drying and keep it in a cool, dry place.
By properly reusing and storing plumber’s putty, you can extend its lifespan and avoid unnecessary waste.
Testing for Leaks After Installation
After applying plumber’s putty and completing the installation, it is essential to test for leaks to ensure a successful seal. Here’s how you can test for leaks:
- Turn on the water supply: Open the water supply to the fixture you have sealed with plumber’s putty.
- Observe for leaks: Carefully inspect the area around the sealed fixture for any signs of water leakage or dripping.
- Check for tightness: Ensure all connections are tight and secure, including nuts, bolts, and fittings.
If you notice any leaks or areas of concern, carefully disassemble the fixture, clean off the old putty, and reapply fresh plumber’s putty following the proper installation steps.
By following this step-by-step guide, you can confidently apply plumber’s putty, achieve proper sealing for different plumbing fixtures, reuse and store plumber’s putty effectively, and test for leaks after installation to ensure a reliable and leak-free plumbing system.
Common Misconceptions About Plumber’s Putty Dry Time
When it comes to the dry time of plumber’s putty, there are several common misconceptions that can lead to confusion. Let’s debunk these myths and provide accurate information about the drying duration of plumber’s putty, allowing you to make informed decisions in your plumbing projects.
Myth 1: Plumber’s putty dries quickly – While some may believe that plumber’s putty dries in a matter of minutes, the reality is that it takes a few hours to dry completely. Unlike traditional adhesives or sealants, plumber’s putty remains soft and pliable, ensuring easy modifications if needed.
Myth 2: The thicker the putty layer, the longer it takes to dry – Contrary to popular belief, the thickness of the putty layer doesn’t significantly affect the drying time. As long as the putty is applied evenly and not excessively, it will dry within the expected timeframe.
Myth 3: Applying heat speeds up the drying process – While it may seem logical to believe that applying heat can expedite the drying of plumber’s putty, it is not recommended. Heating the putty can cause it to dry unevenly and may compromise the integrity of the seal.
By understanding these common misconceptions, you can confidently use plumber’s putty and ensure a successful installation. Remember, patience is key when it comes to drying time, and following the manufacturer’s instructions is always advisable.
FAQ
How long does plumbers putty take to dry?
Generally, plumbers putty takes a few hours to dry completely.
What factors affect the drying time of plumbers putty?
The drying time of plumbers putty can be influenced by factors such as temperature, humidity, and the thickness of the putty layer.
Does plumbers putty harden like traditional adhesives or sealants?
No, plumbers putty does not actually dry like traditional adhesives or sealants. It remains soft and pliable, allowing for easy modifications if needed.
How can I determine if plumbers putty is fully cured and ready for use?
While plumbers putty does not fully dry, you can typically consider it cured and ready for use once it has set and formed a watertight seal.
Can I speed up the drying process of plumbers putty?
It is not recommended to rush the drying process of plumbers putty, as this can compromise its effectiveness. It is best to allow the putty to dry naturally for optimal results.
Can I use plumbers putty on all types of surfaces?
Plumbers putty is generally suitable for use on most types of surfaces, including metals and ceramics. However, it may not adhere well to certain plastic surfaces.
Are there any situations where I should not use plumbers putty?
Plumbers putty should not be used on plastic surfaces, in pressurized connections, or for sealing windows and doors. In these scenarios, it is best to use alternative sealants or adhesives.
What are the advantages of using plumbers putty?
Plumbers putty offers advantages such as malleability, ease of use, and the ability to create a reliable watertight seal for plumbing fixtures.
How do I apply plumbers putty correctly?
To apply plumbers putty correctly, prepare the surfaces, mold and apply the putty evenly, and allow it to set before testing for leaks.
What are the common misconceptions about plumbers putty dry time?
Some common misconceptions about plumbers putty dry time include the idea that it dries quickly like traditional adhesives and that it needs to harden completely to be effective.

